Peerless DS-LEDTK-6V User Manual
Displayed below is the user manual for DS-LEDTK-6V by Peerless which is a product in the Video Wall Display Accessories category. This manual has pages.
Related Manuals
12020-07-13 #:146-9054-2 (2020-08-03)
ENG
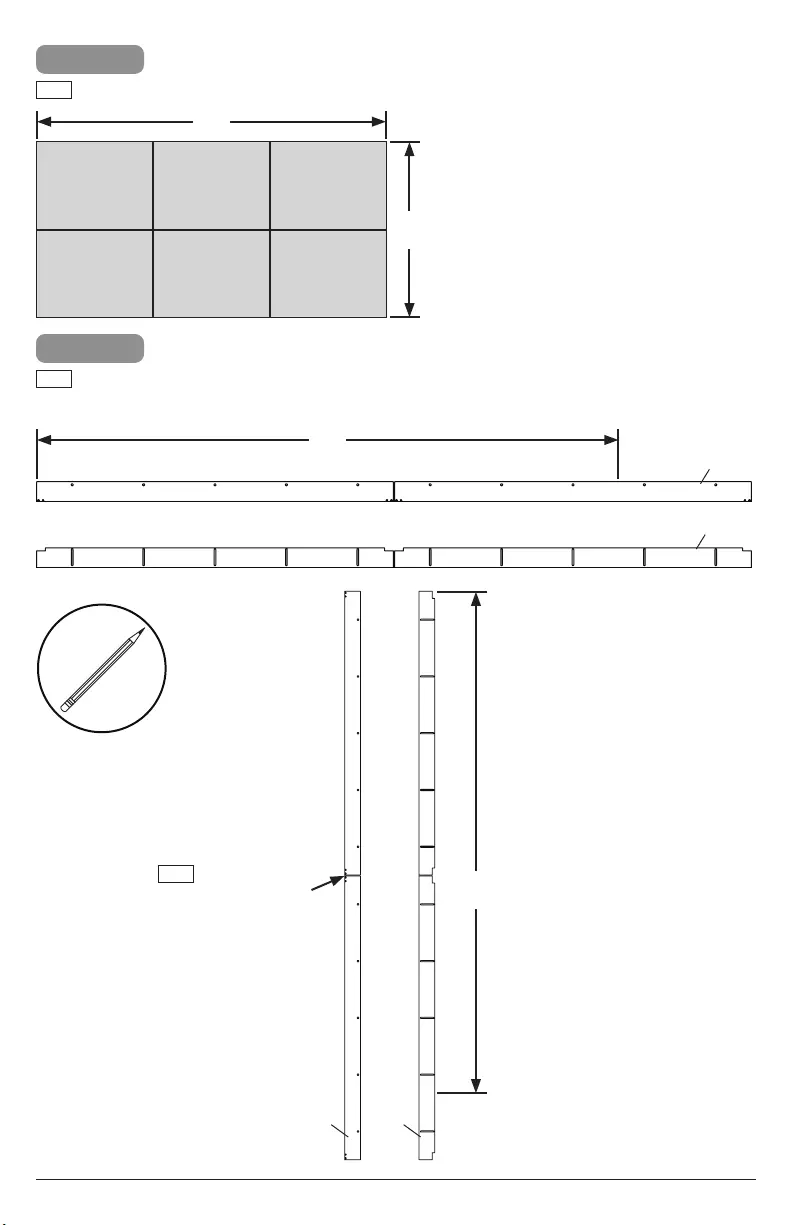
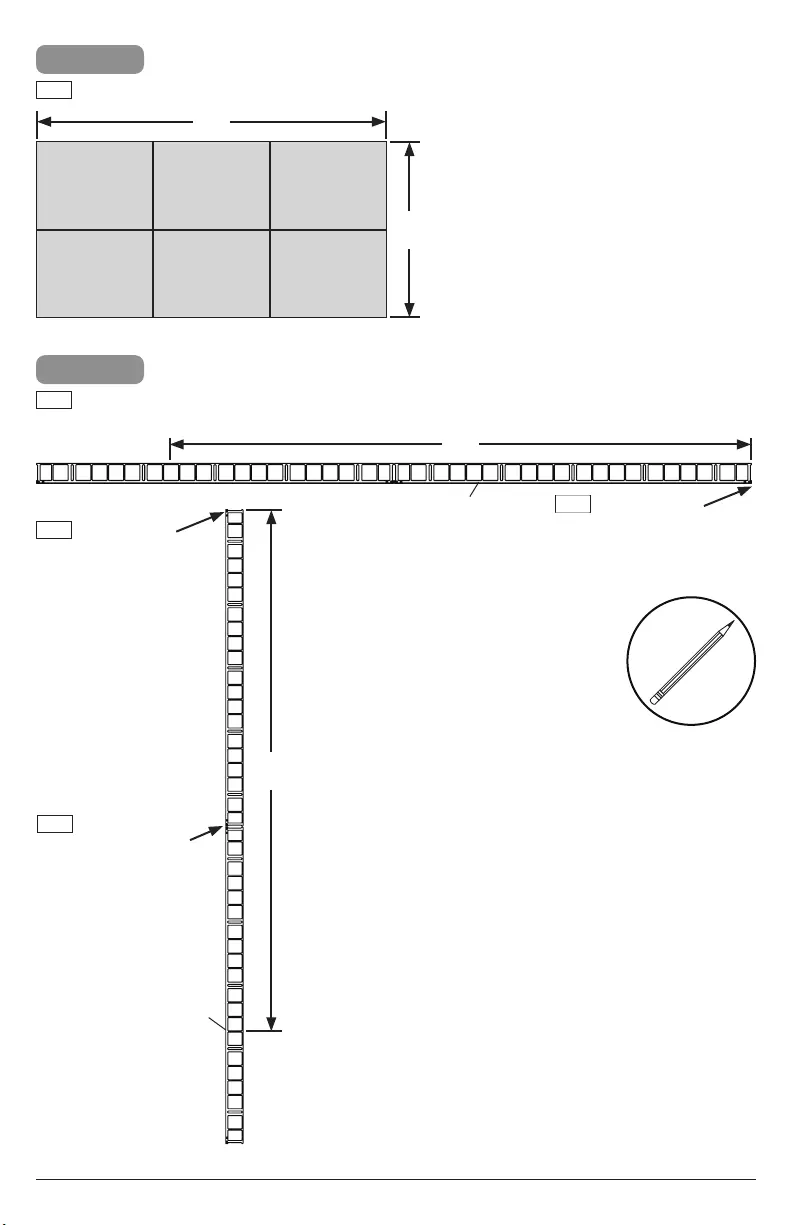
DS-LEDTK Series
*Actual conguration may vary
22020-07-13 #:146-9054-2 (2020-08-03)
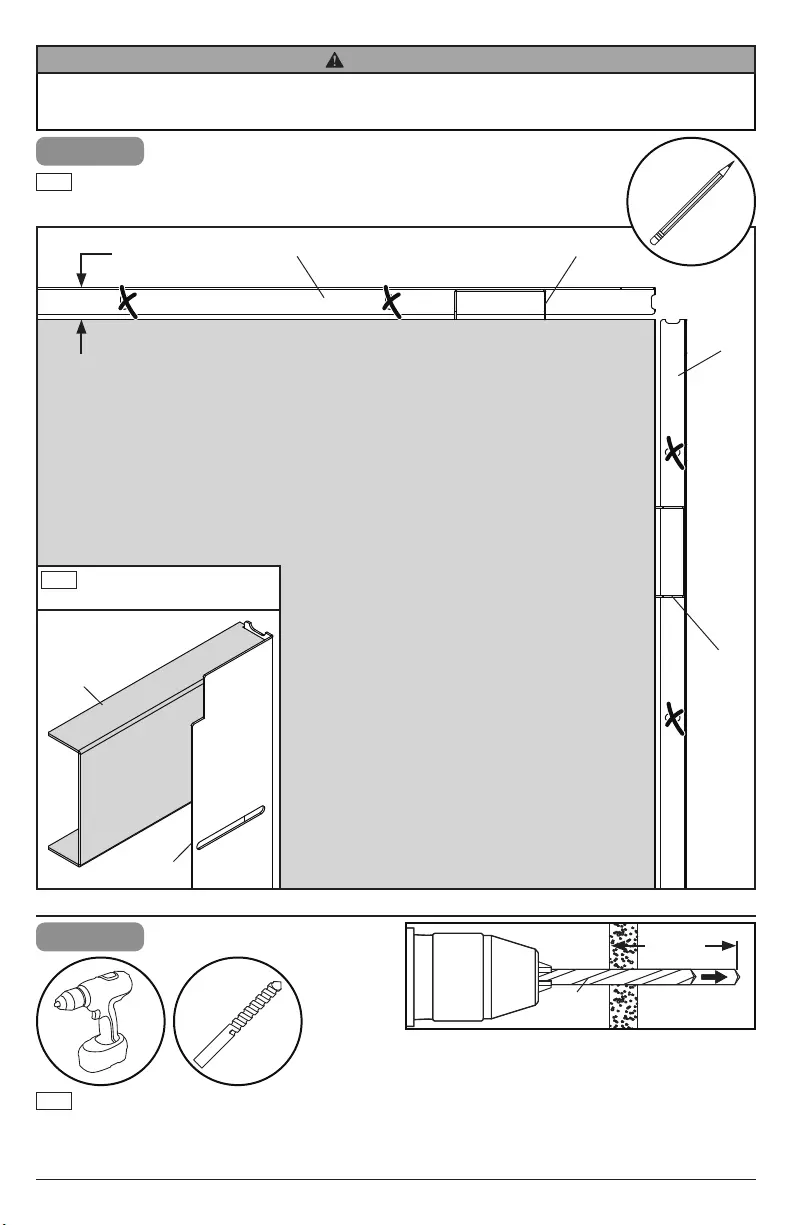
ENG - This product is designed to be installed on plywood walls. Hardware is included for plywood installation.
walls. Before installing make sure the supporting surface will support the combined load of the equipment and
and position equipment. This product is intended for indoor use only. Use of this product outdoors could lead to
call customer care at 1-800-865-2112.
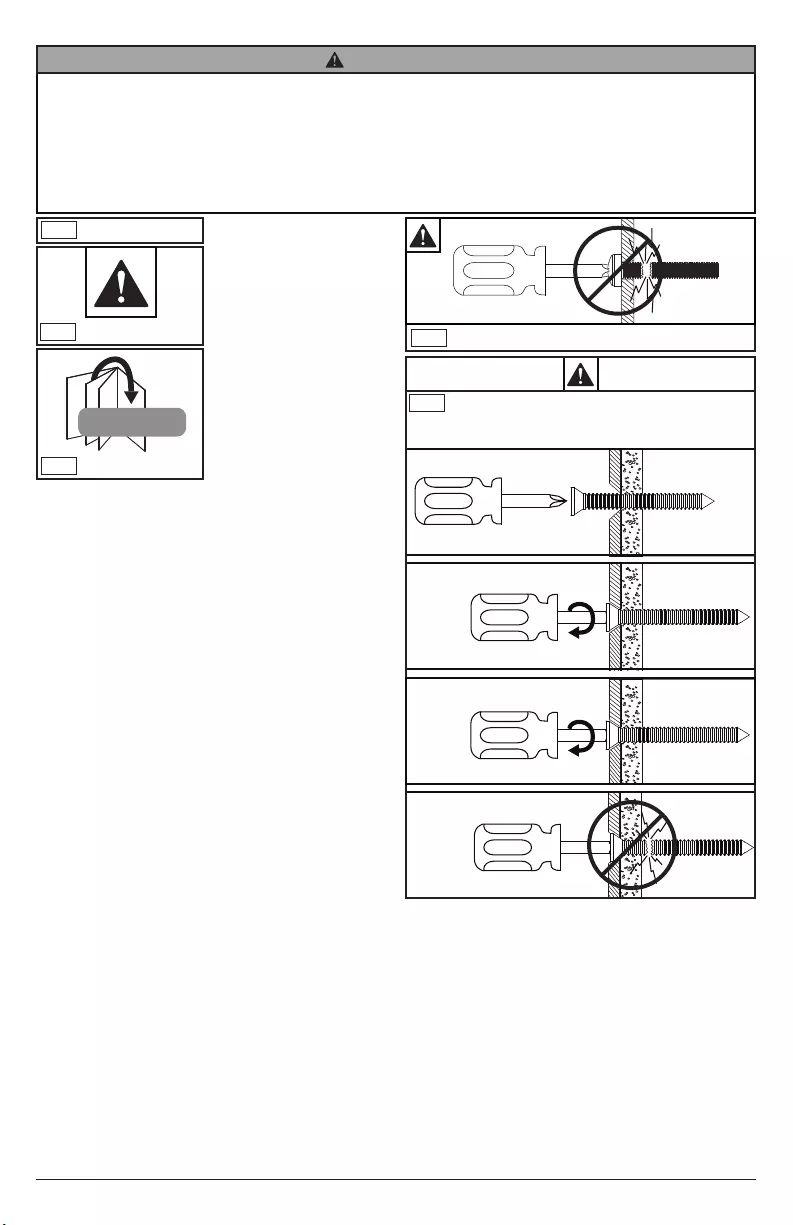
WARNING
Symbols
ENG
WARNING
ENG
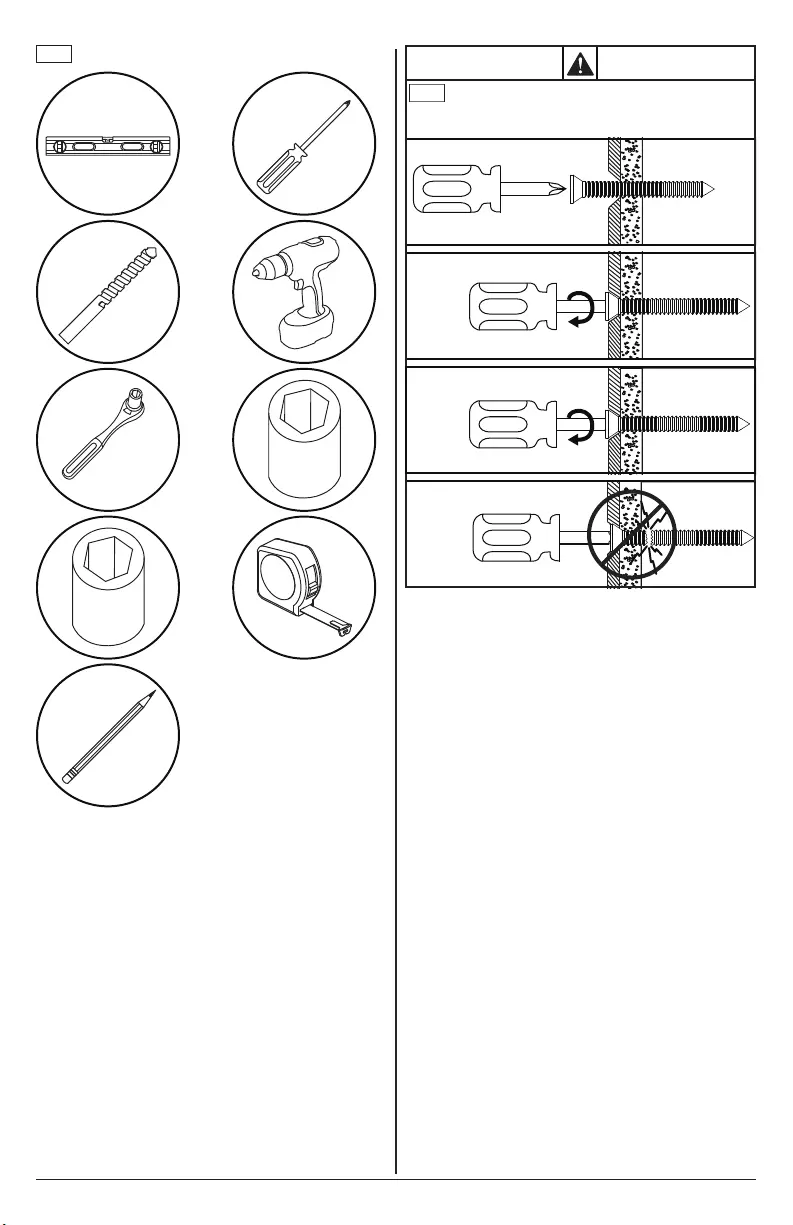
#
Skip to step.
ENG
ENG
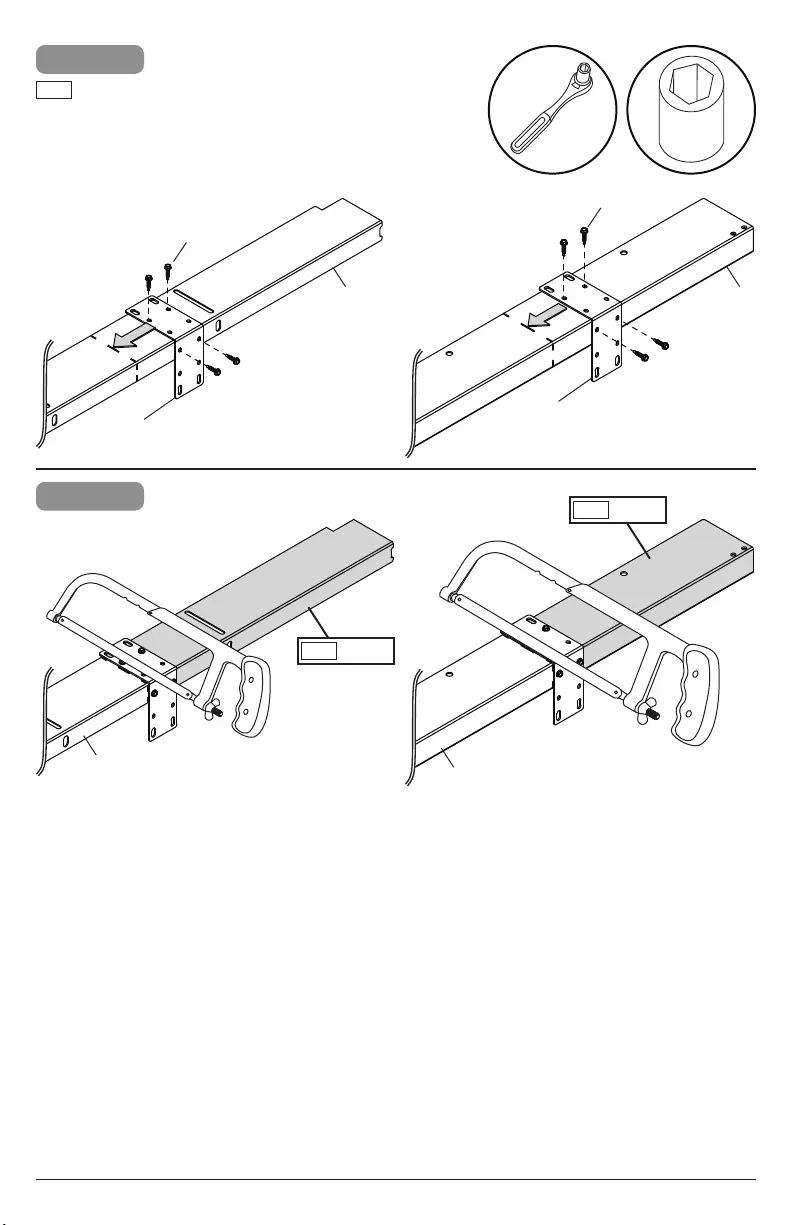
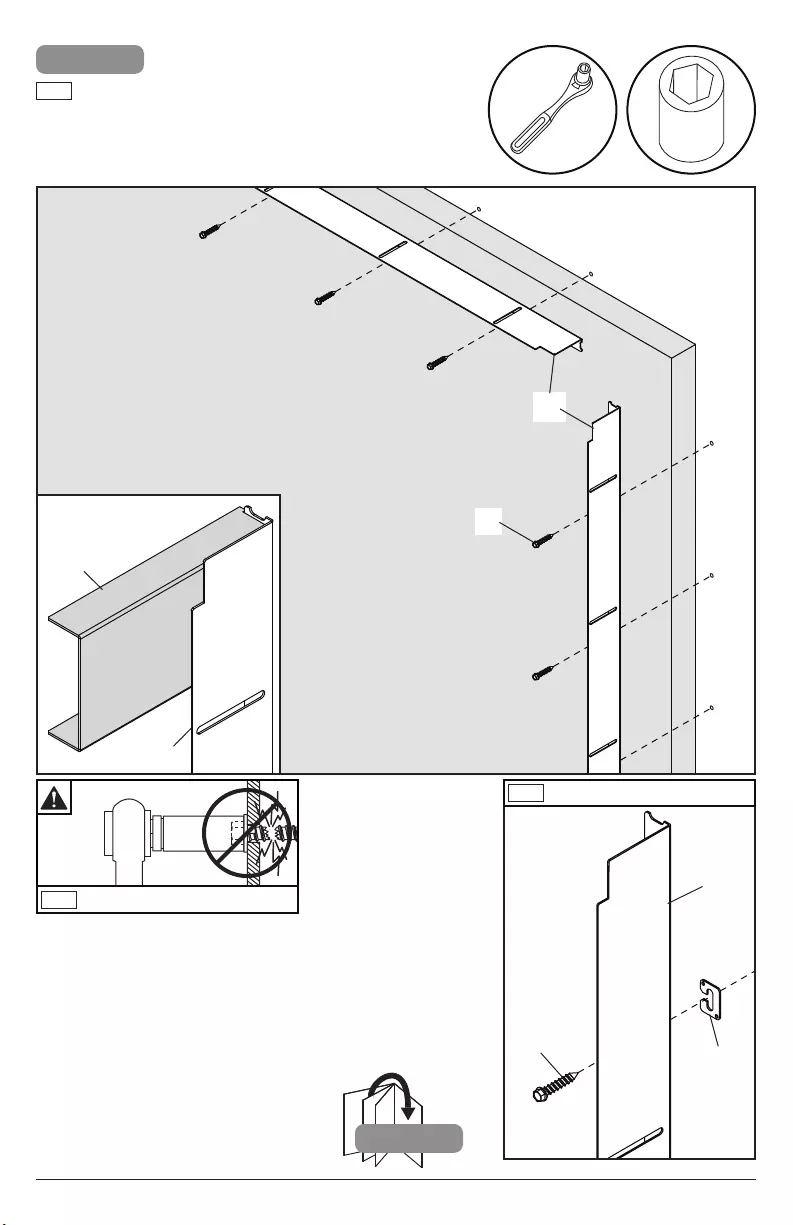
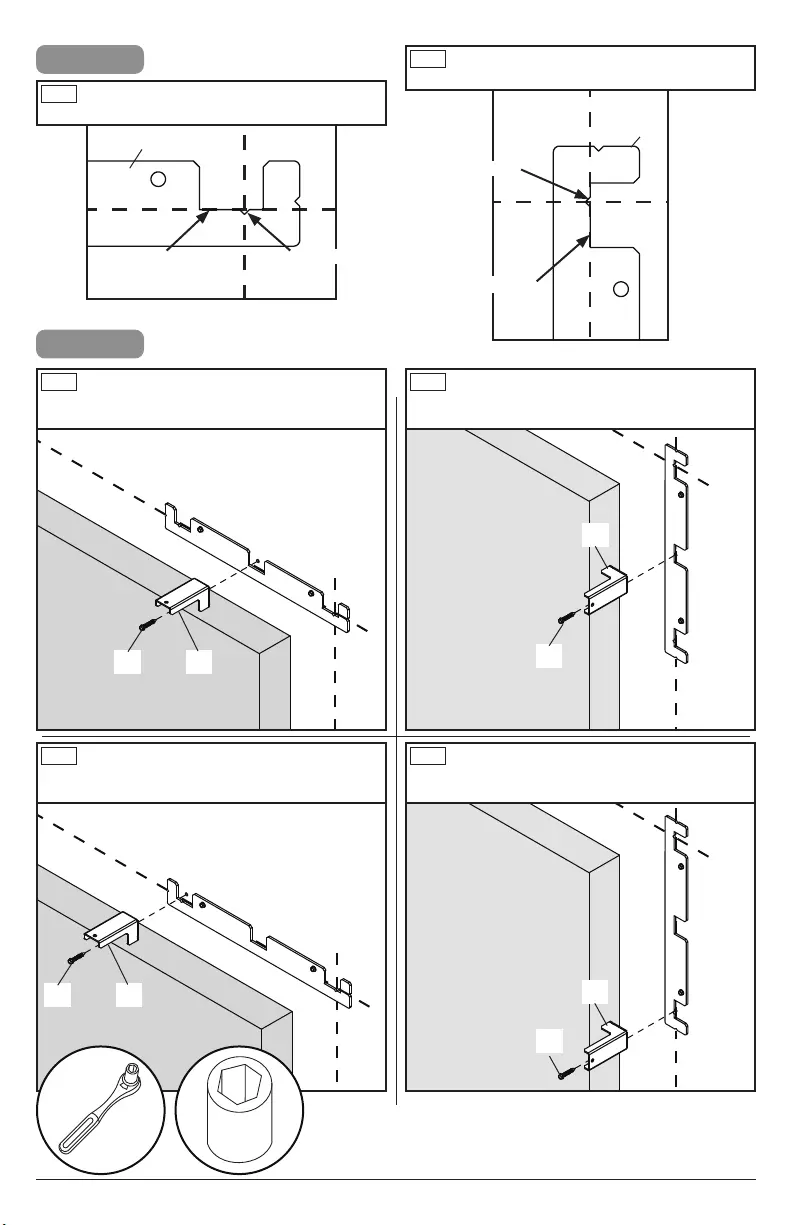
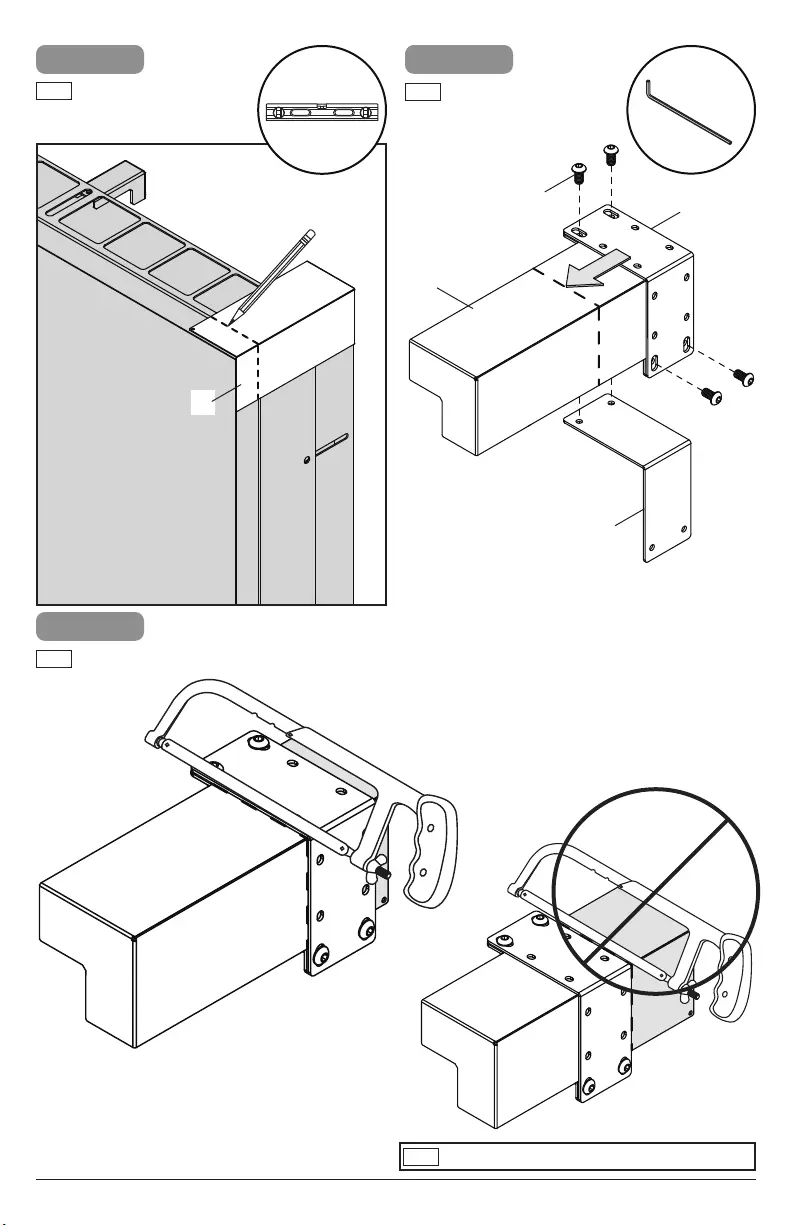
1
2
ENG To properly tighten screws: Tighten until screw
4
+1/2
3
32020-07-13 #:146-9054-2 (2020-08-03)
ENG
(4mm)
(10mm)
1
2
ENG To properly tighten screws: Tighten until screw
4
+1/2
3
(6mm)
42020-07-13 #:146-9054-2 (2020-08-03)
A
F
B
C
nut bar
solid wall bracket
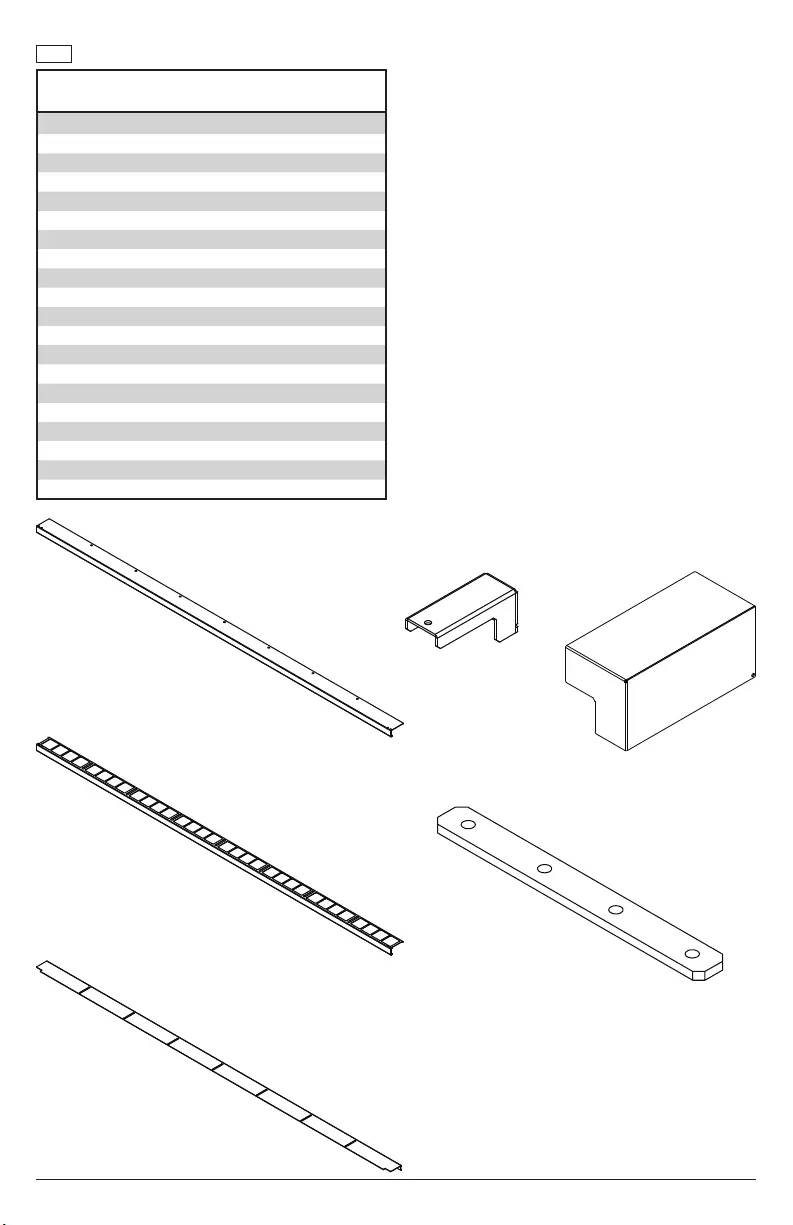
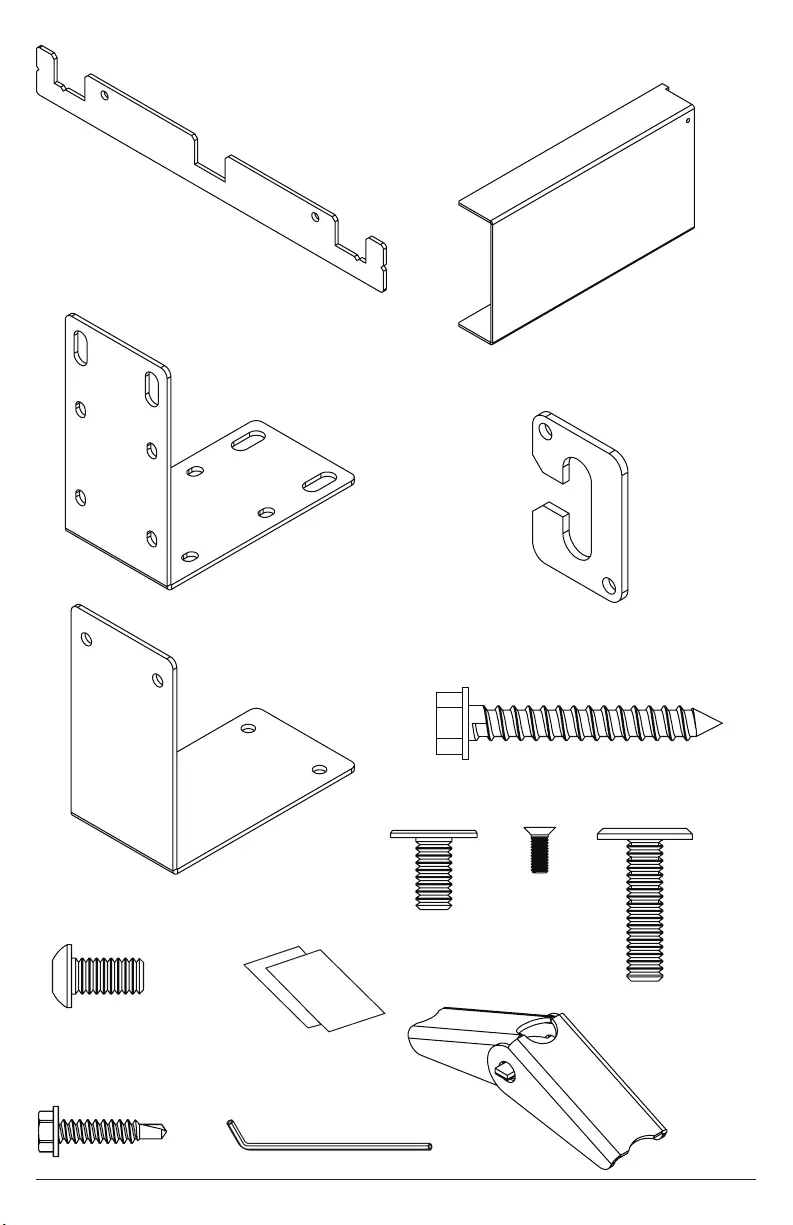
Parts List
Description Part #
A -
B -
Csolid wall bracket -
Dwall-side bracket 147-1859
E 147-1876
Fnut bar 147-T1881
Gwall-side bracket spacer 147-T1879
Hsolid wall bracket spacer 147-T1880
Iouter cutting jig 147-T1882
Jinner cutting jig
Kwall plate shim 147-1891
L 521-0710
M 521-1688
N 521-0711
O 520-1169
P
Qtoggler
R 521-0714
S4mm allen wrench 560-9646
T
ENG
D E
wall-side bracket
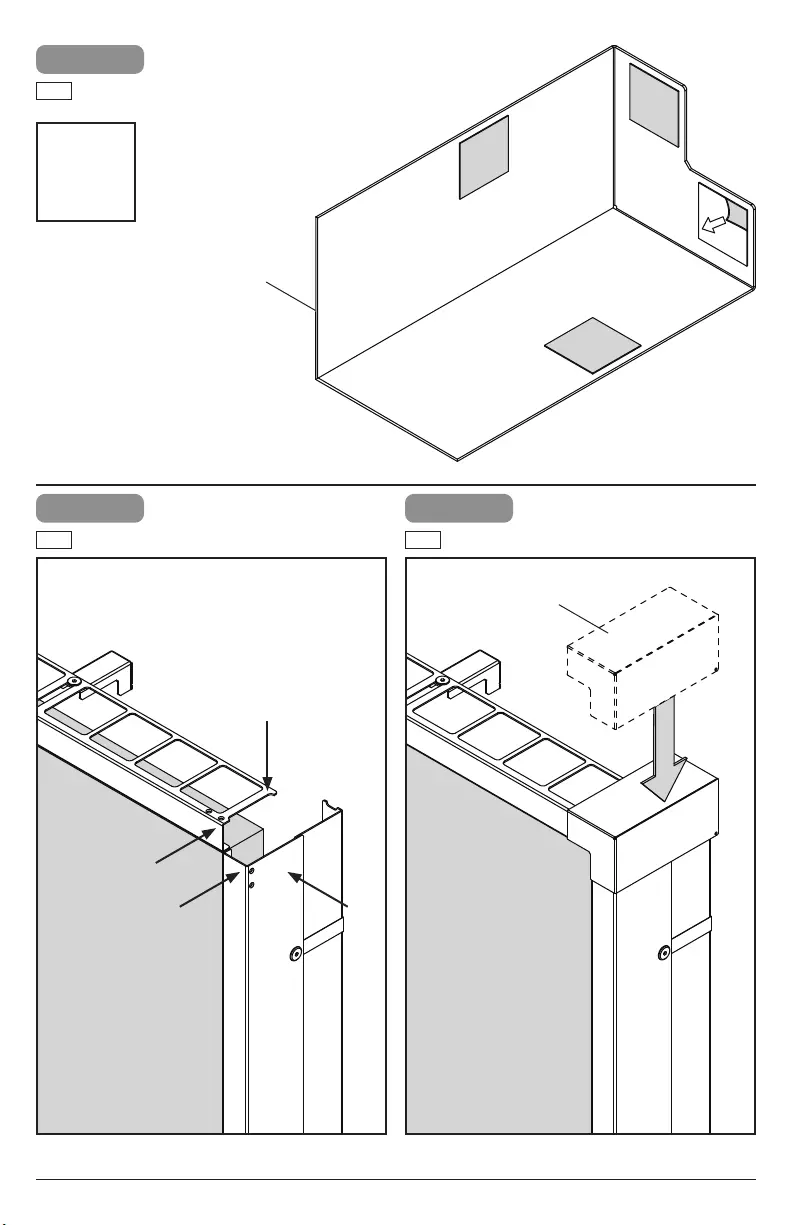
52020-07-13 #:146-9054-2 (2020-08-03)
K
J
T L
H
I
G
wall plate shim
inner cutting jig
N
Q
toggler
O
R
P
solid wall bracket
spacer
outer cutting jig
wall-side bracket
spacer
M
S (1)
4mm allen
wrench

62020-07-13 #:146-9054-2 (2020-08-03)
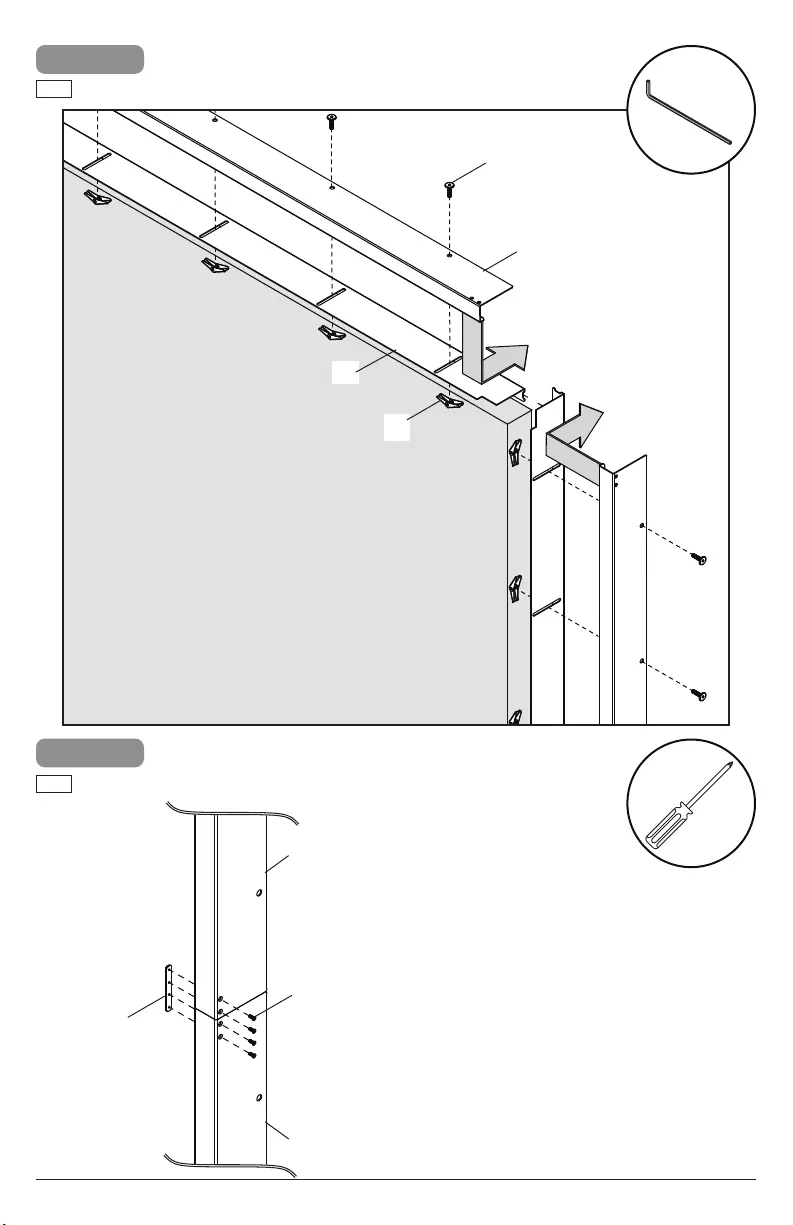
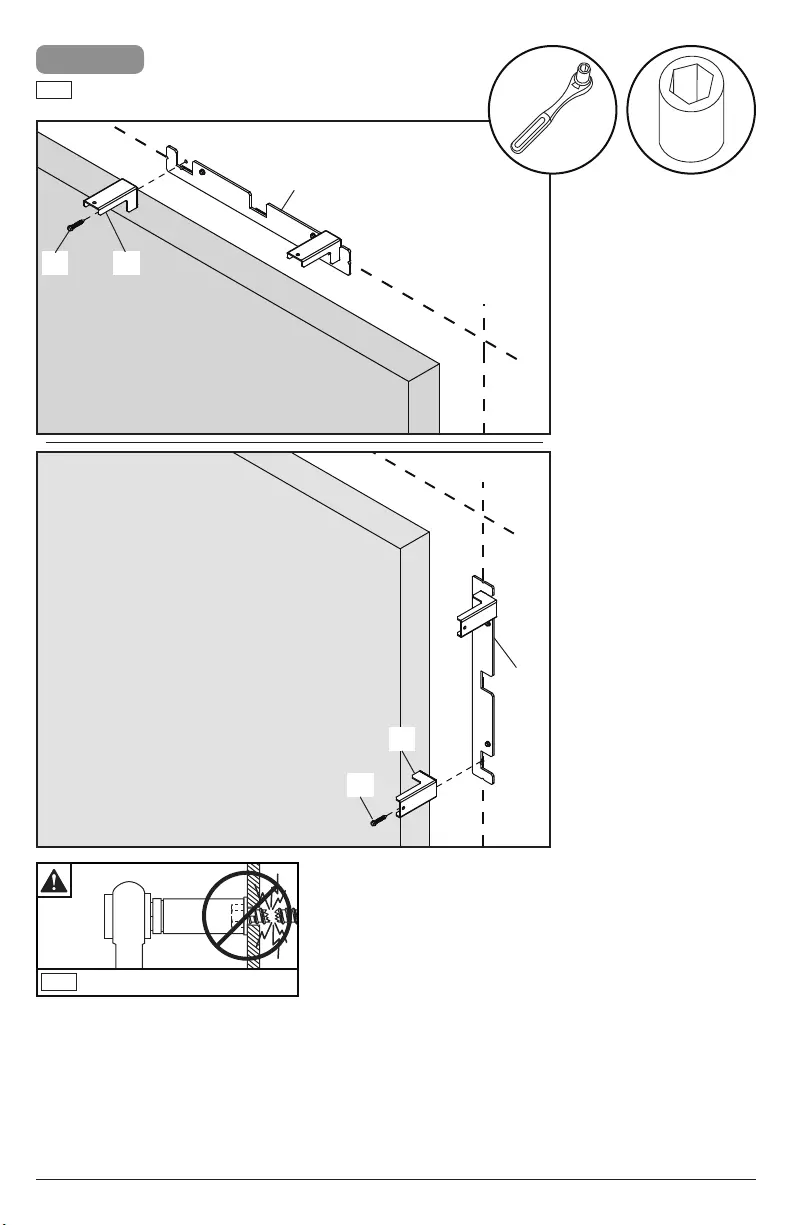
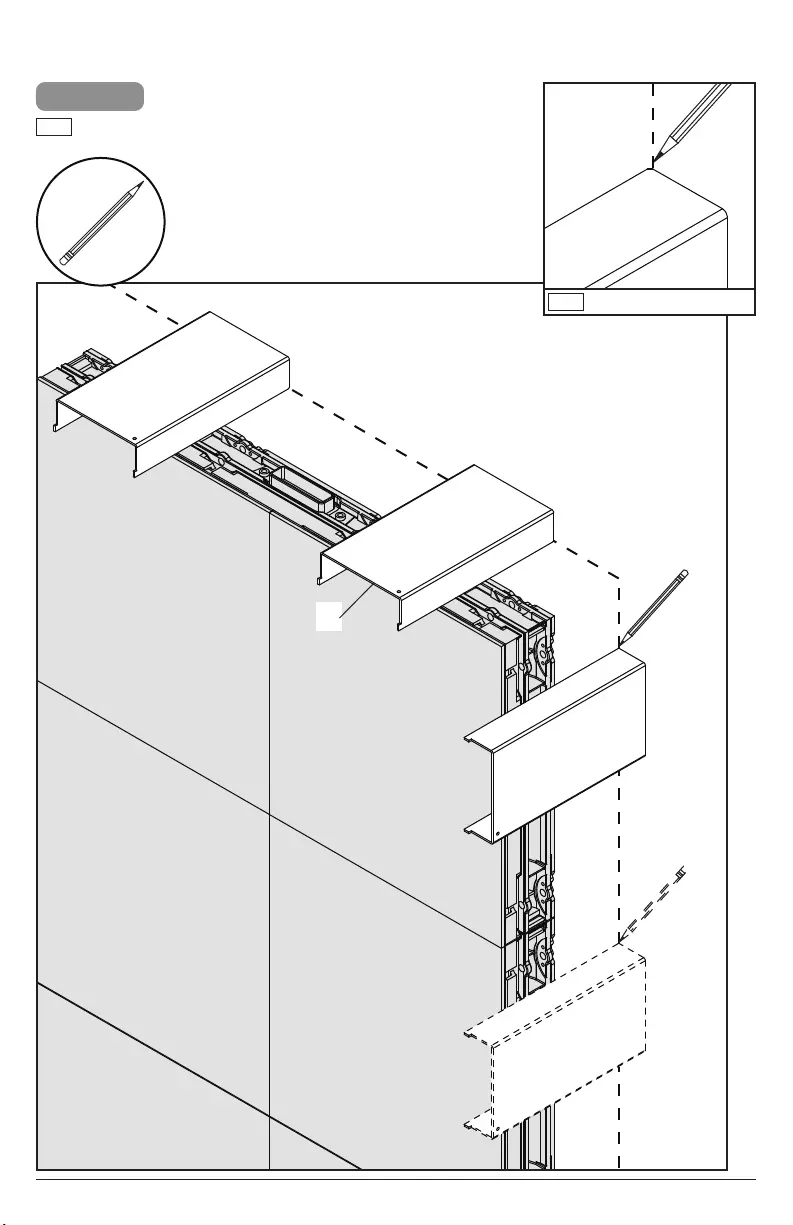
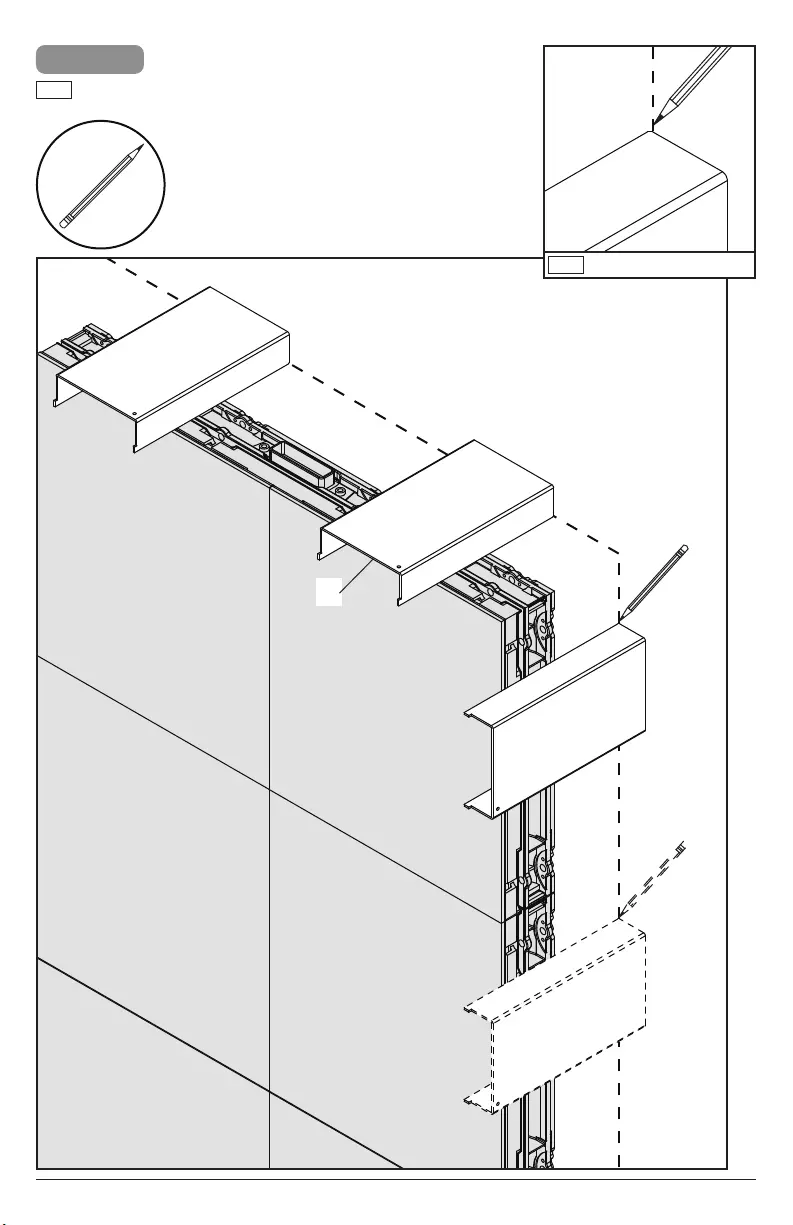
1
ENG
Alternate steps for Unilumin UpanelS sides with bump-outs
start on page 22.
C
C
A
A
B
B
D
D
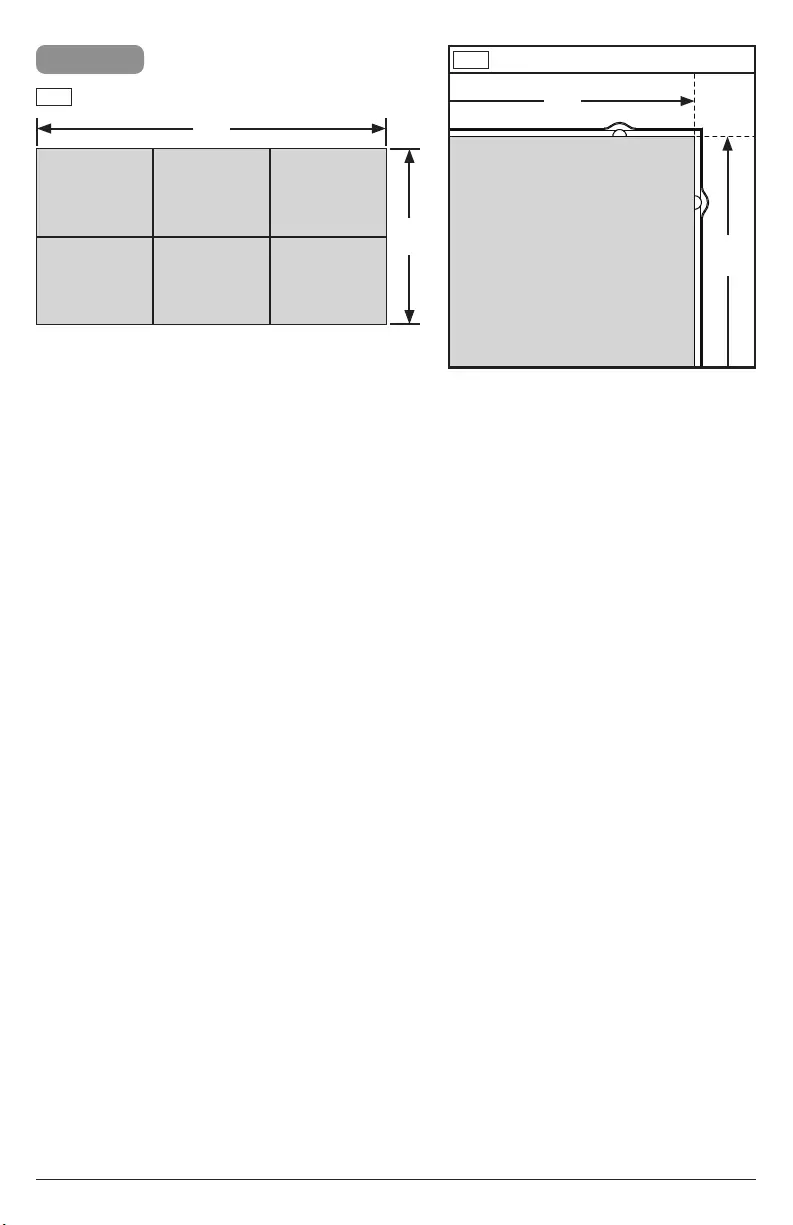
2-1
6-1
72020-07-13 #:146-9054-2 (2020-08-03)
2-1
ENG
2-2
ENG
Uncut edges must
form inside seam.
ENG
x"
C
A
y"
A C
x"
y"
82020-07-13 #:146-9054-2 (2020-08-03)
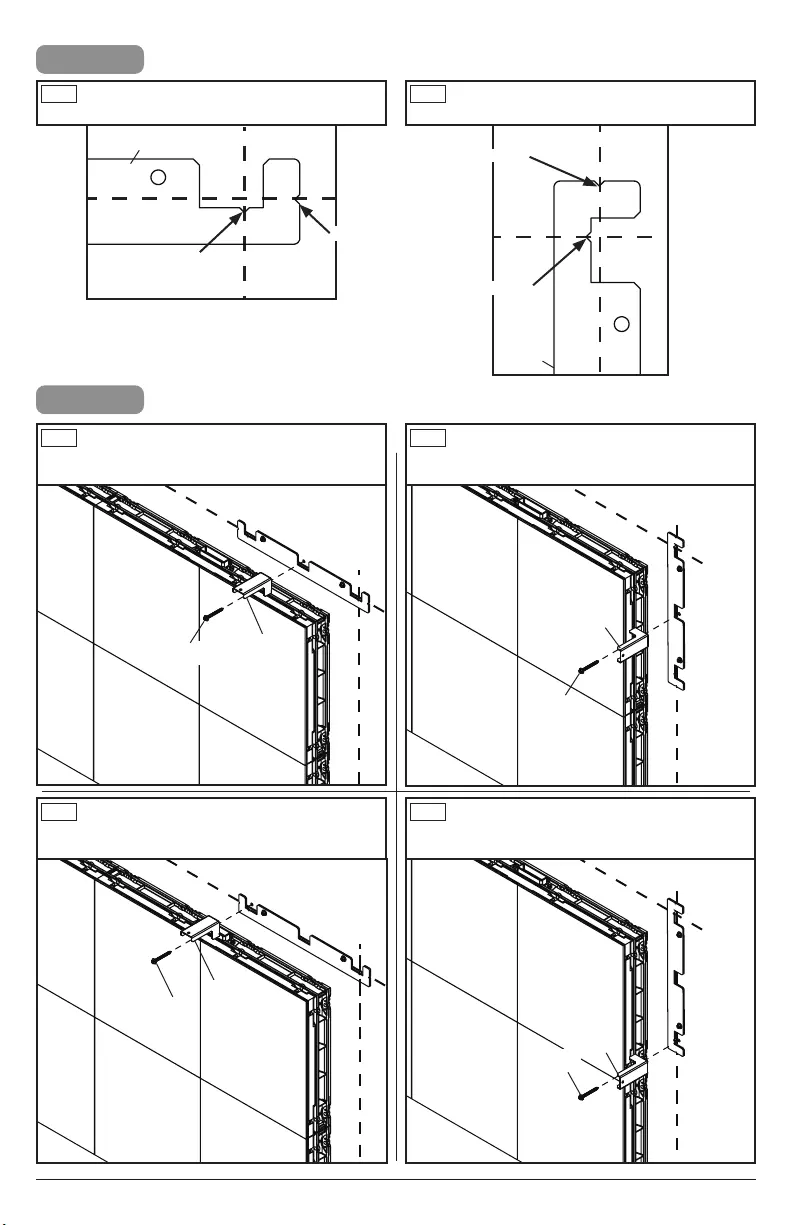
3-1
3-2
ENG
C A
CA
II
R (4)
R (4)
ENG
ENG
(6mm)
92020-07-13 #:146-9054-2 (2020-08-03)
WARNING
4-1
ENG
C
C
H
H
4-2
ENG
(4mm)
(44mm)
(4mm)
Spacer oriented so notch faces
ENG
C
H
10 2020-07-13 #:146-9054-2 (2020-08-03)
4-3
bracket.
ENG
(10mm)
ENG
C
C
H
M
MK
C
ENG
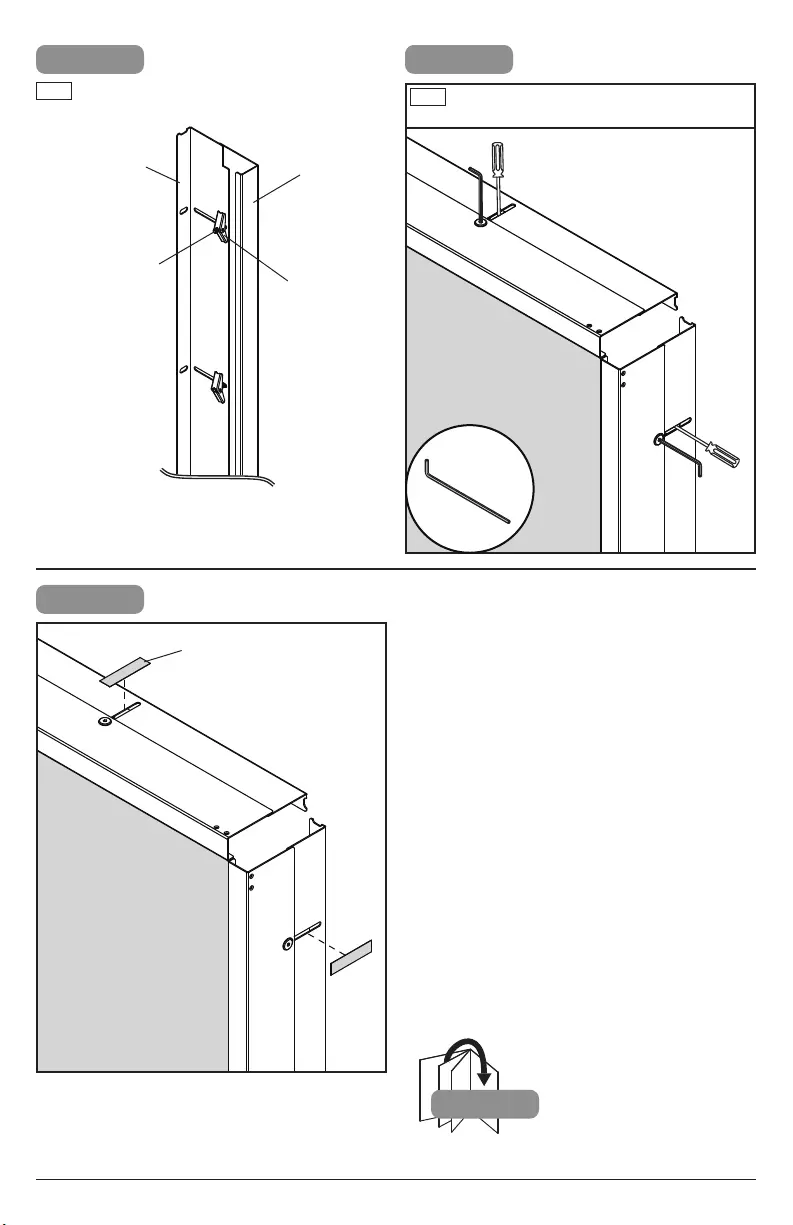
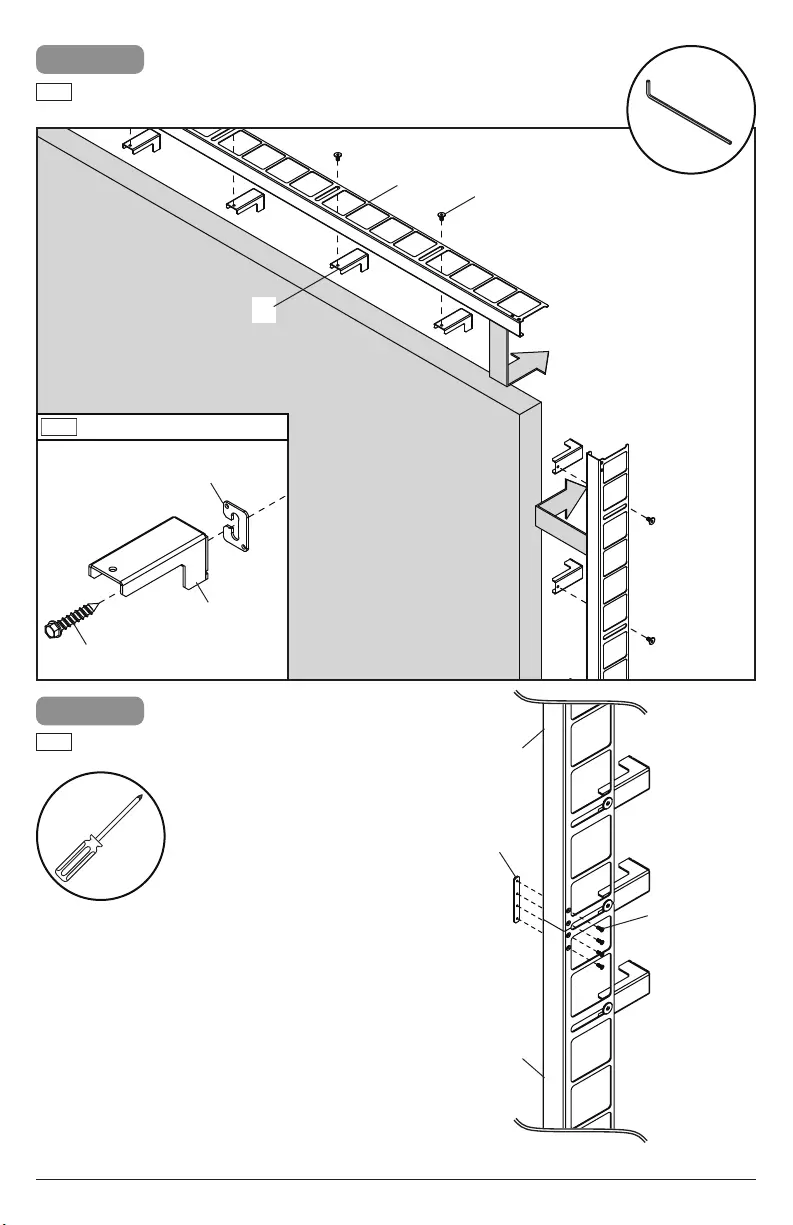
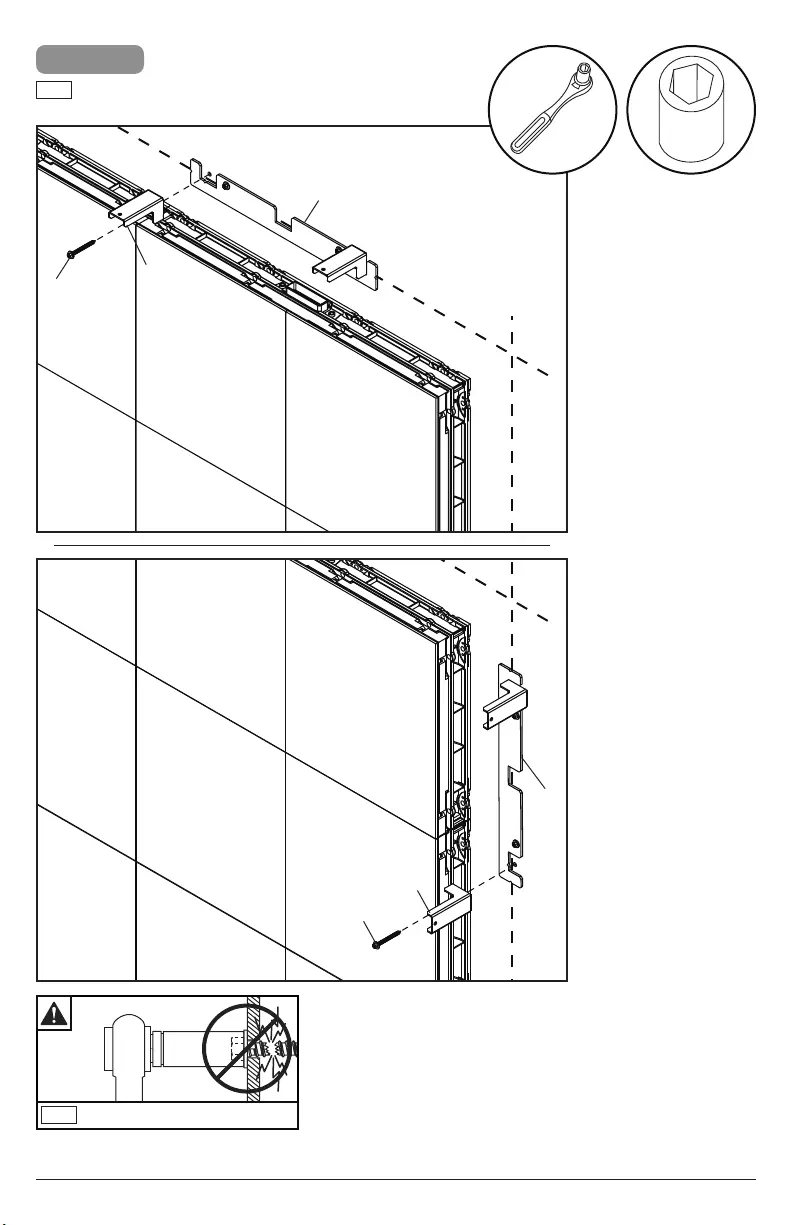
5-1
11 2020-07-13 #:146-9054-2 (2020-08-03)
5-1
ENG
Q
A
T
C
S
5-2
ENG
A
A
N (4)
F
12 2020-07-13 #:146-9054-2 (2020-08-03)
5-4
5-5
P
10-1
tightening toggler screws.
ENG
5-3
ENG
Q
T
A
C
S
13 2020-07-13 #:146-9054-2 (2020-08-03)
6-1
ENG
H
Use end without notch.
ENG
14 2020-07-13 #:146-9054-2 (2020-08-03)
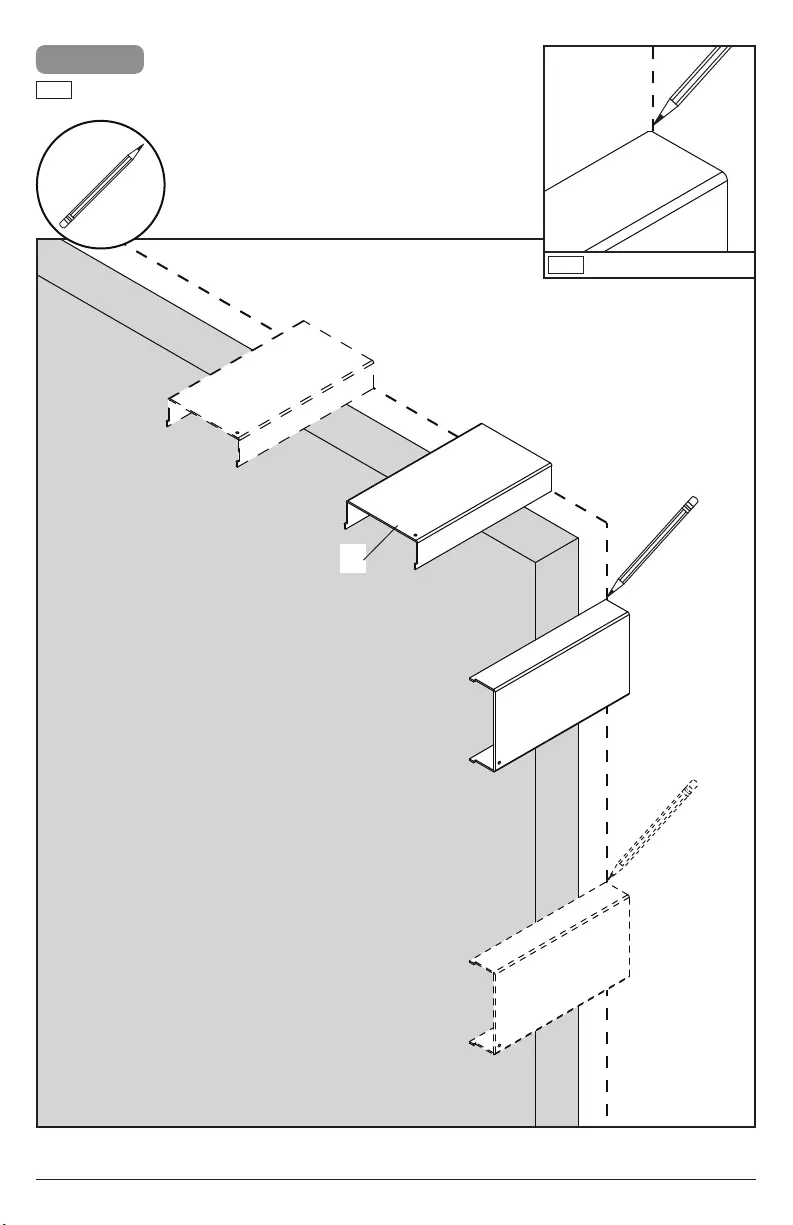
x"
B
y"
B
Uncut edges must
form inside seam.
ENG
uncut
ENG
uncut
ENG
6-3
ENG
6-2
ENG
x"
y"

15 2020-07-13 #:146-9054-2 (2020-08-03)
7-1 7-2
B
I
R (2)
ENG
(6mm)
ENG
16 2020-07-13 #:146-9054-2 (2020-08-03)
8-2
M
M
D
D
screws to hold spacer in place.
ENG
screws to hold spacer in place.
ENG
notch with guiding lines.
ENG
D
M
bottom cutout
M
D
screws to hold spacer in place.
ENG
screws to hold spacer in place.
ENG
(10mm)
8-1
with guiding lines.
ENG
GG
bottom cutout
17 2020-07-13 #:146-9054-2 (2020-08-03)
M D
G
ENG
8-3
ENG
M
D
G
(10mm)
18 2020-07-13 #:146-9054-2 (2020-08-03)
9-1
Secure with hardware.
ENG
L
D
B
S
9-2
ENG
B
B
N (4)
F
D
M
K
ENG
19 2020-07-13 #:146-9054-2 (2020-08-03)
E
J
O (4) I
E
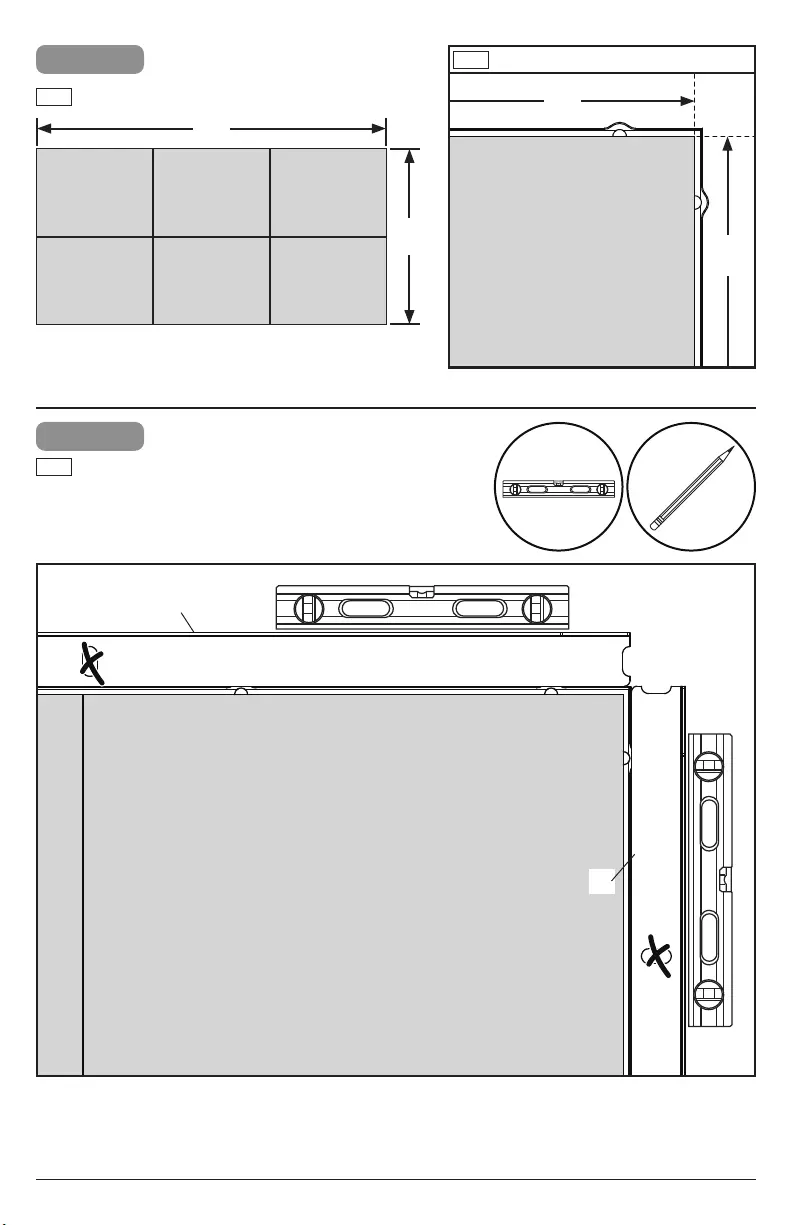
10-1
wall and mark cutting line.
ENG
10-2
10-3
into place and clamp on side
ENG
ENG
ENG
S
20 2020-07-13 #:146-9054-2 (2020-08-03)
10-4
10-5 10-6
ENG
ENG
ENG
E (4)
E
x4
21 2020-07-13 #:146-9054-2 (2020-08-03)
2
To begin installing solid trim on Unilumin UpanelS edges with bump-
ENG
H
Use end without notch.
ENG
Alternate steps for Unilumin UpanelS sides with bump-outs
22 2020-07-13 #:146-9054-2 (2020-08-03)
2-1
ENG
x"
y"
x"
y"
4-1
mounting holes.
ENG
C
C
ENG

23 2020-07-13 #:146-9054-2 (2020-08-03)
4-3
ENG
(10mm)
ENG
C
M
ENG
C
C
C
ENG
24 2020-07-13 #:146-9054-2 (2020-08-03)
6-1
To begin installing perforated trim on Unilumin UpanelS edges with
ENG
H
Use end without notch.
ENG
25 2020-07-13 #:146-9054-2 (2020-08-03)
6-2
ENG
x"
y"
x"
y"
ENG
26 2020-07-13 #:146-9054-2 (2020-08-03)
8-1
8-2
M
M
D
D
screws to hold spacer in place.
ENG
screws to hold spacer in place.
ENG
ENG
G
ENG
D
M
G
M
D
screws to hold spacer in place.
ENG
screws to hold spacer in place.
ENG
27 2020-07-13 #:146-9054-2 (2020-08-03)
MD
G
ENG
8-3
ENG
M
D
G
(10mm)

Peerless-AV Europe
Peerless-AV América Latina
Parque Industrial Escobedo
01-800-849-65-77
Peerless-AV
Email: tech@peerlessmounts.com
Ph: (800) 865-2112
www.peerless-av.com/warranty
Warranty Garantía Garantie Garantie Garantie
Záruka Záruka Garantia
ENG ESP
POR TÜR