APC SUVTXR6B6S User Manual
Displayed below is the user manual for SUVTXR6B6S by APC which is a product in the Uninterruptible Power Supplies (UPSs) category. This manual has pages.
Related Manuals
990-1747F-001 10/2008
*990-1747F-
Receiving and Unpacking
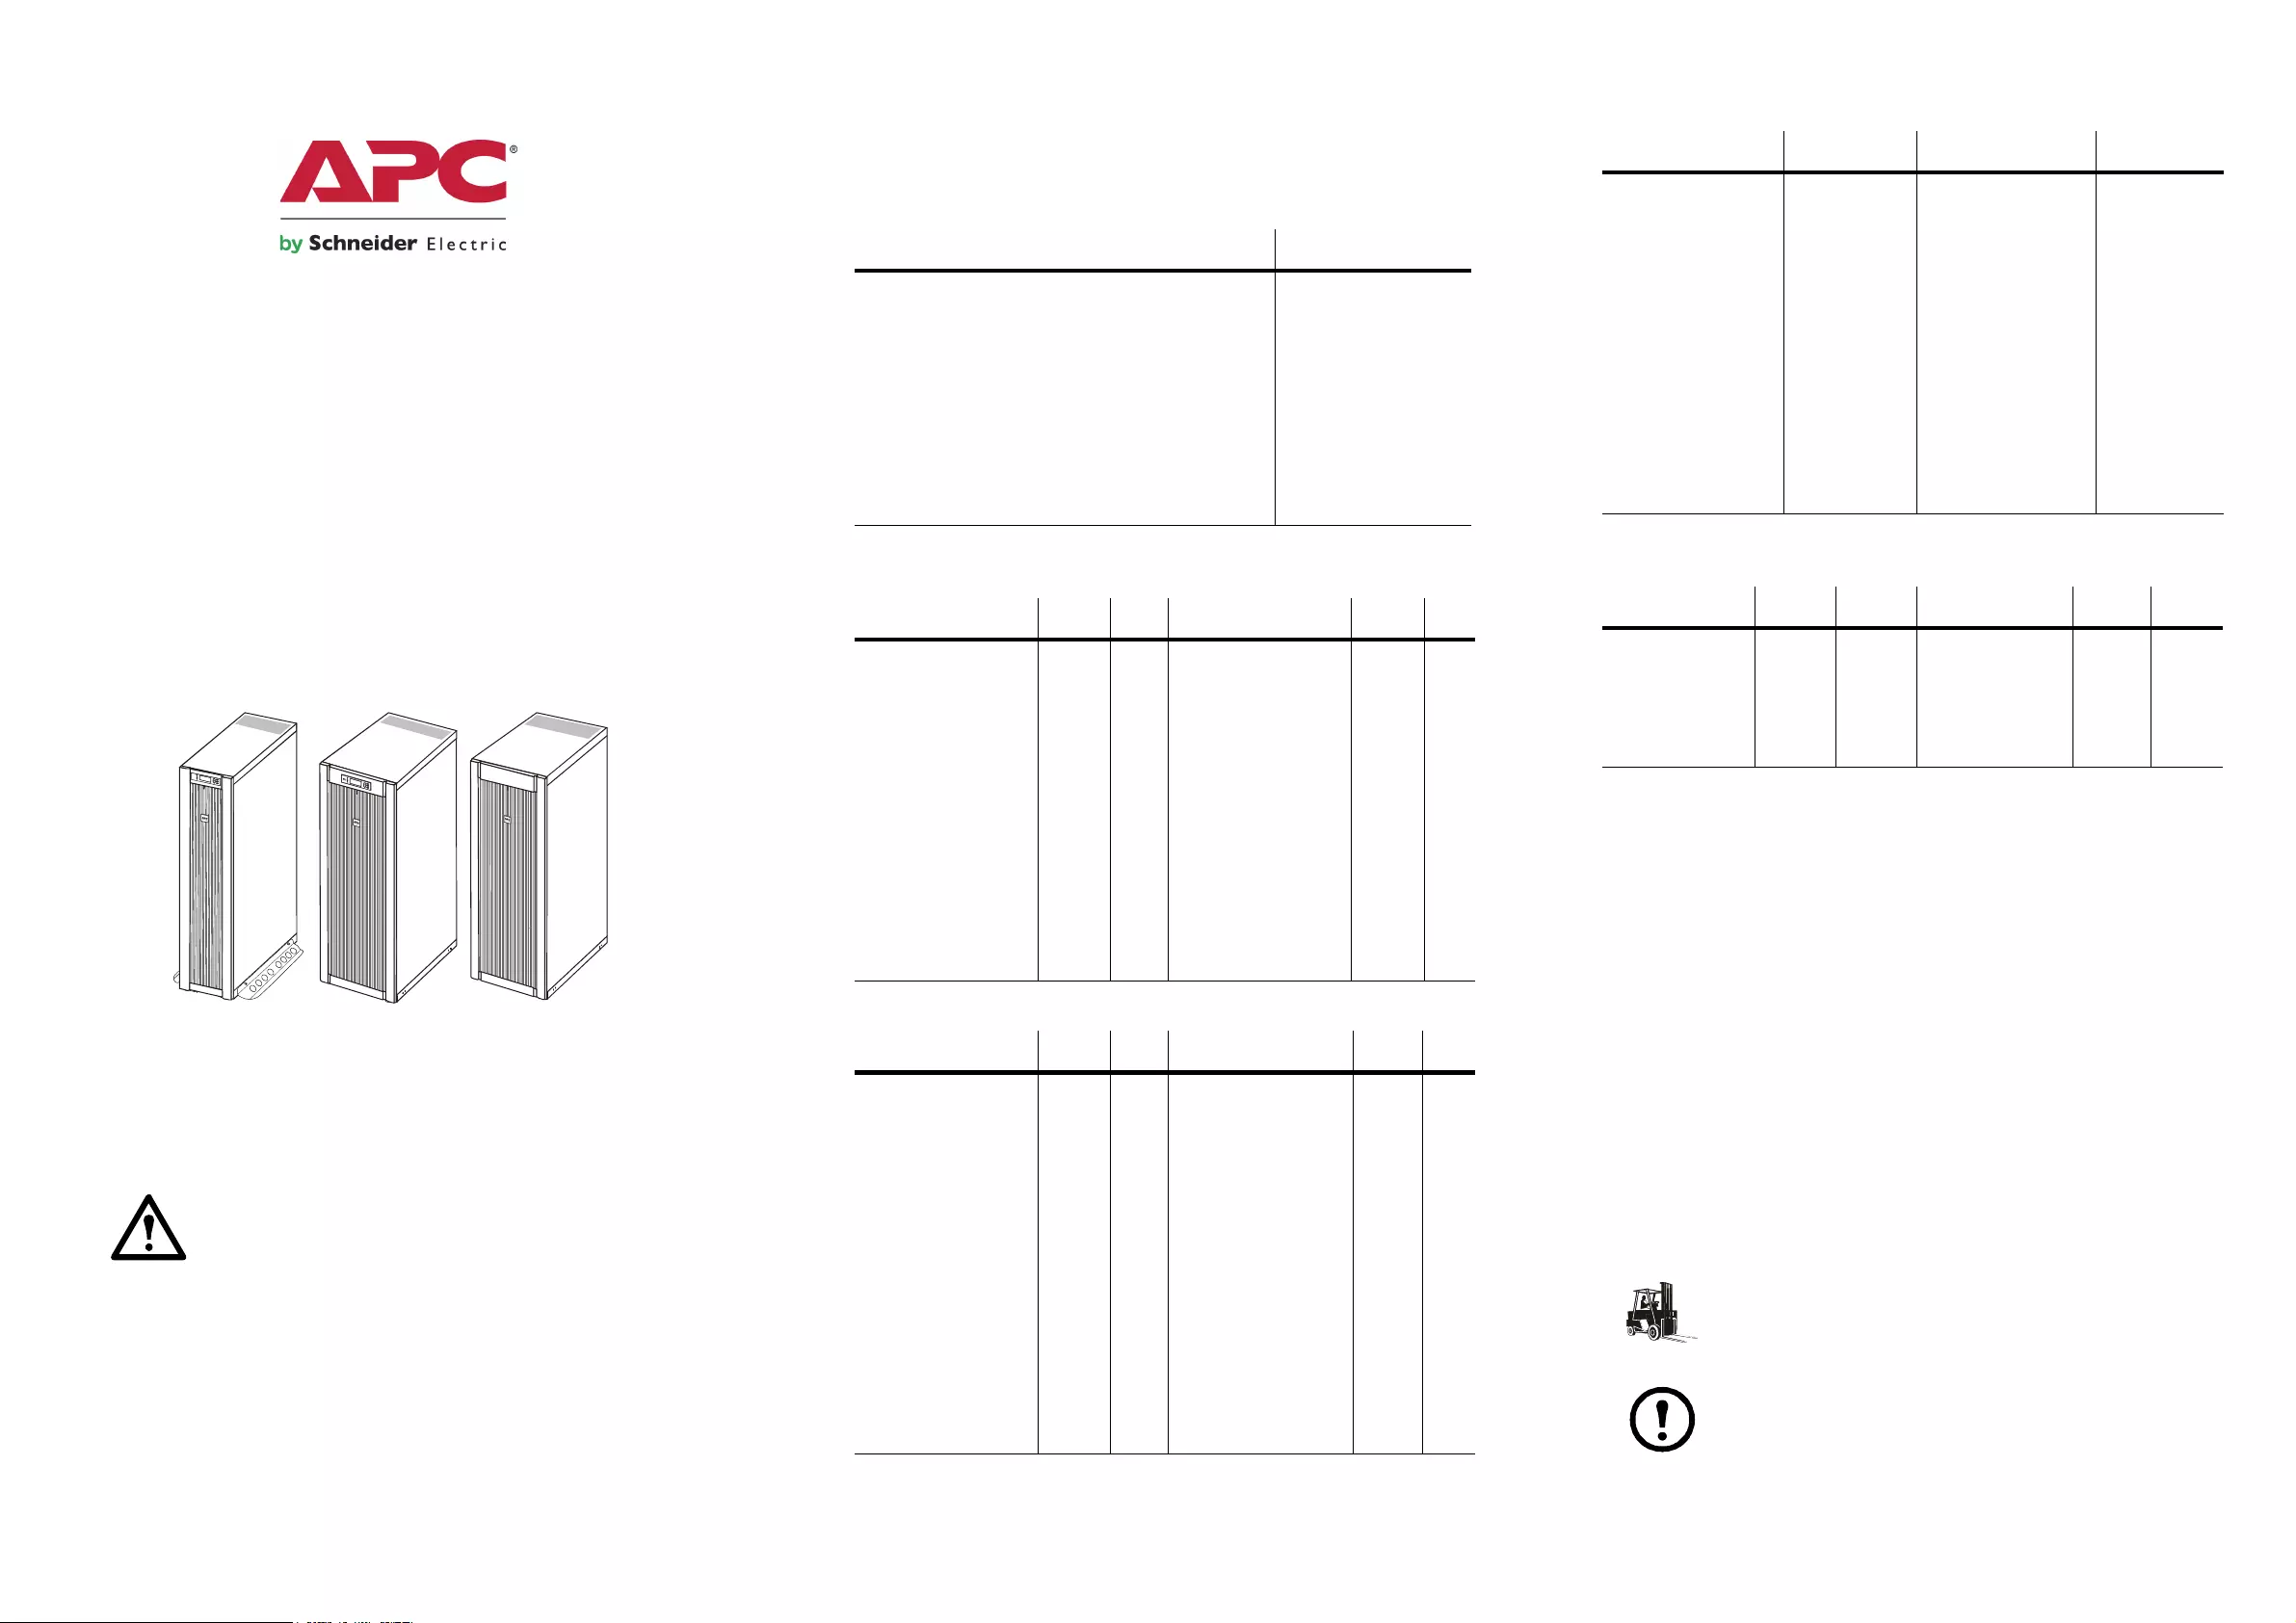
Smart-UPS® VT and
XR Battery Enclosure 10–40 kVA
380/400/415 V
208/220 V
200/208 V
IMPORTANT SAFETY INSTRUCTIONS
SAVE THESE INSTRUCTIONS
Warning: Indicates a hazard, which, if not avoided could
result in personal injury or damage to product or other
property.
Shipping Weights and Dimensions
UPS net dimensions
UPS shipping weights XR battery enclosure weights
* The total weight of the XR battery enclosure including the separate
battery package.
Receive
External inspection. When the shipment arrives, inspect the shipping
material for any signs of damage or mishandling. Do not attempt to
install the system if damage is apparent. If any damage is noted, contact
APC and file a damage claim with the shipping agency within 24
hours.
Compare the components of the shipment with the bill of lading.
Report any missing items to the carrier and to APC immediately.
Verify that labelled units match the order confirmation.
Move to Installation Site
Use a pallet jack or a forklift for components over 54 kg
(120 lb).
Note: After the unit has been removed from the pallet,
move it only by rolling it on the casters.
10-20 kVA UPS 10-40 kVA UPS XR battery
enclosure
Enclosure Net Dimensions mm (in)
Height (identical for all UPS enclosure sizes) 1499 (59)
Depth (identical for all UPS enclosure sizes -
exclusive of the conduit box)
Depth (identical for all UPS enclosure
sizes - inclusive of the conduit box)
828 (32.99)
925 (36.40)
Enclosure width (2 sizes) 356 (14) and
559 (22)
208/220 V kg lbs 208/220 V kg lbs
SUVTP10KF1B2 335.91 739 SUVTP10KF2B2 427.43 941
SUVTP10KF1B4 354.09 779 SUVTP10KF2B4 445.91 981
SUVTP10KF3B4 537.73 1183 SUVTP10KF4B4 630 1386
SUVTP15KF2B2 428.18 942 SUVTP15KF2B4 445.91 981
SUVTP15KF3B4 537.73 1183 SUVTP15KF4B4 630 1386
SUVTP20KF2B4 475.91 1047 SUVTP20KF3B4 567.73 1247
SUVTP20KF4B4 660 1452
SUVTP30KF3B4 568.18 1250 SUVTP30KF4B4 660 1452
380/400/415 V kg lbs 380/400/415 V kg lbs
SUVTP10KH1B2 335.91 739 SUVTP10KH2B2 427.73 941
SUVTP10KH1B4 354.09 779 SUVTP10KH2B4 445.91 981
SUVTP10KH3B4 537.73 1183 SUVTP10KH4B4 630 1386
SUVTP15KH2B2 428.18 942 SUVTP15KH2B4 445.91 981
SUVTP15KH3B4 537.73 1183 SUVTP15KH4B4 630 1386
SUVTP20KH2B2 428.18 942 SUVTP20KH2B4 445.91 981
SUVTP20KH3B4 537.73 1183 SUVTP20KH4B4 630 1386
SUVTP30KH3B4 568.18 1250 SUVTP30KH4B4 660 1452
SUVTP40KH4B4 660 1452
200/208 V kg 200 V kg
SUVTJP10KF1B2 335.91 SUVTJP10KF2B2 427.73
SUVTJP10KF1B4 354.09 SUVTJP10KF2B4 445.91
SUVTJP10KF3B4 537.73 SUVTJP10KF4B4 630
SUVTJP15KF2B2 428.18 SUVTJP15KF2B4 445.91
SUVTJP15KF3B4 537.73 SUVTJP15KF4B4 630
SUVTJP20KF2B4 475.91 SUVTJP20KF3B4 567.73
SUVTJP20KF4B4 660
SUVTJP30KF3B4 568.18 SUVTJP)0KF4B4 660
Part Nos. kg lbs Part Nos. kg lbs
SUVTXR2B6 430.45 947 SUVTXR6B6S* 822 1807.6
SUVTBXR2B6 430.45 947 SUVTBXR6B6S* 825.4 1810.9
SUVTJBXR2B6 430.45 SUVTJBXR6B6S 828
2
Caution: Ensure that the floor is level. The enclosure
cannot be installed on a floor that is not level.
Space considerations
Note: Allow for enough working space behind the
enclosure for electrical work to be carried out (e.g. if you
want to connect an XR Battery Enclosure at a later stage).
10-20 kVA.
10-40 kVA.
* All physical installations must comply with local standards.
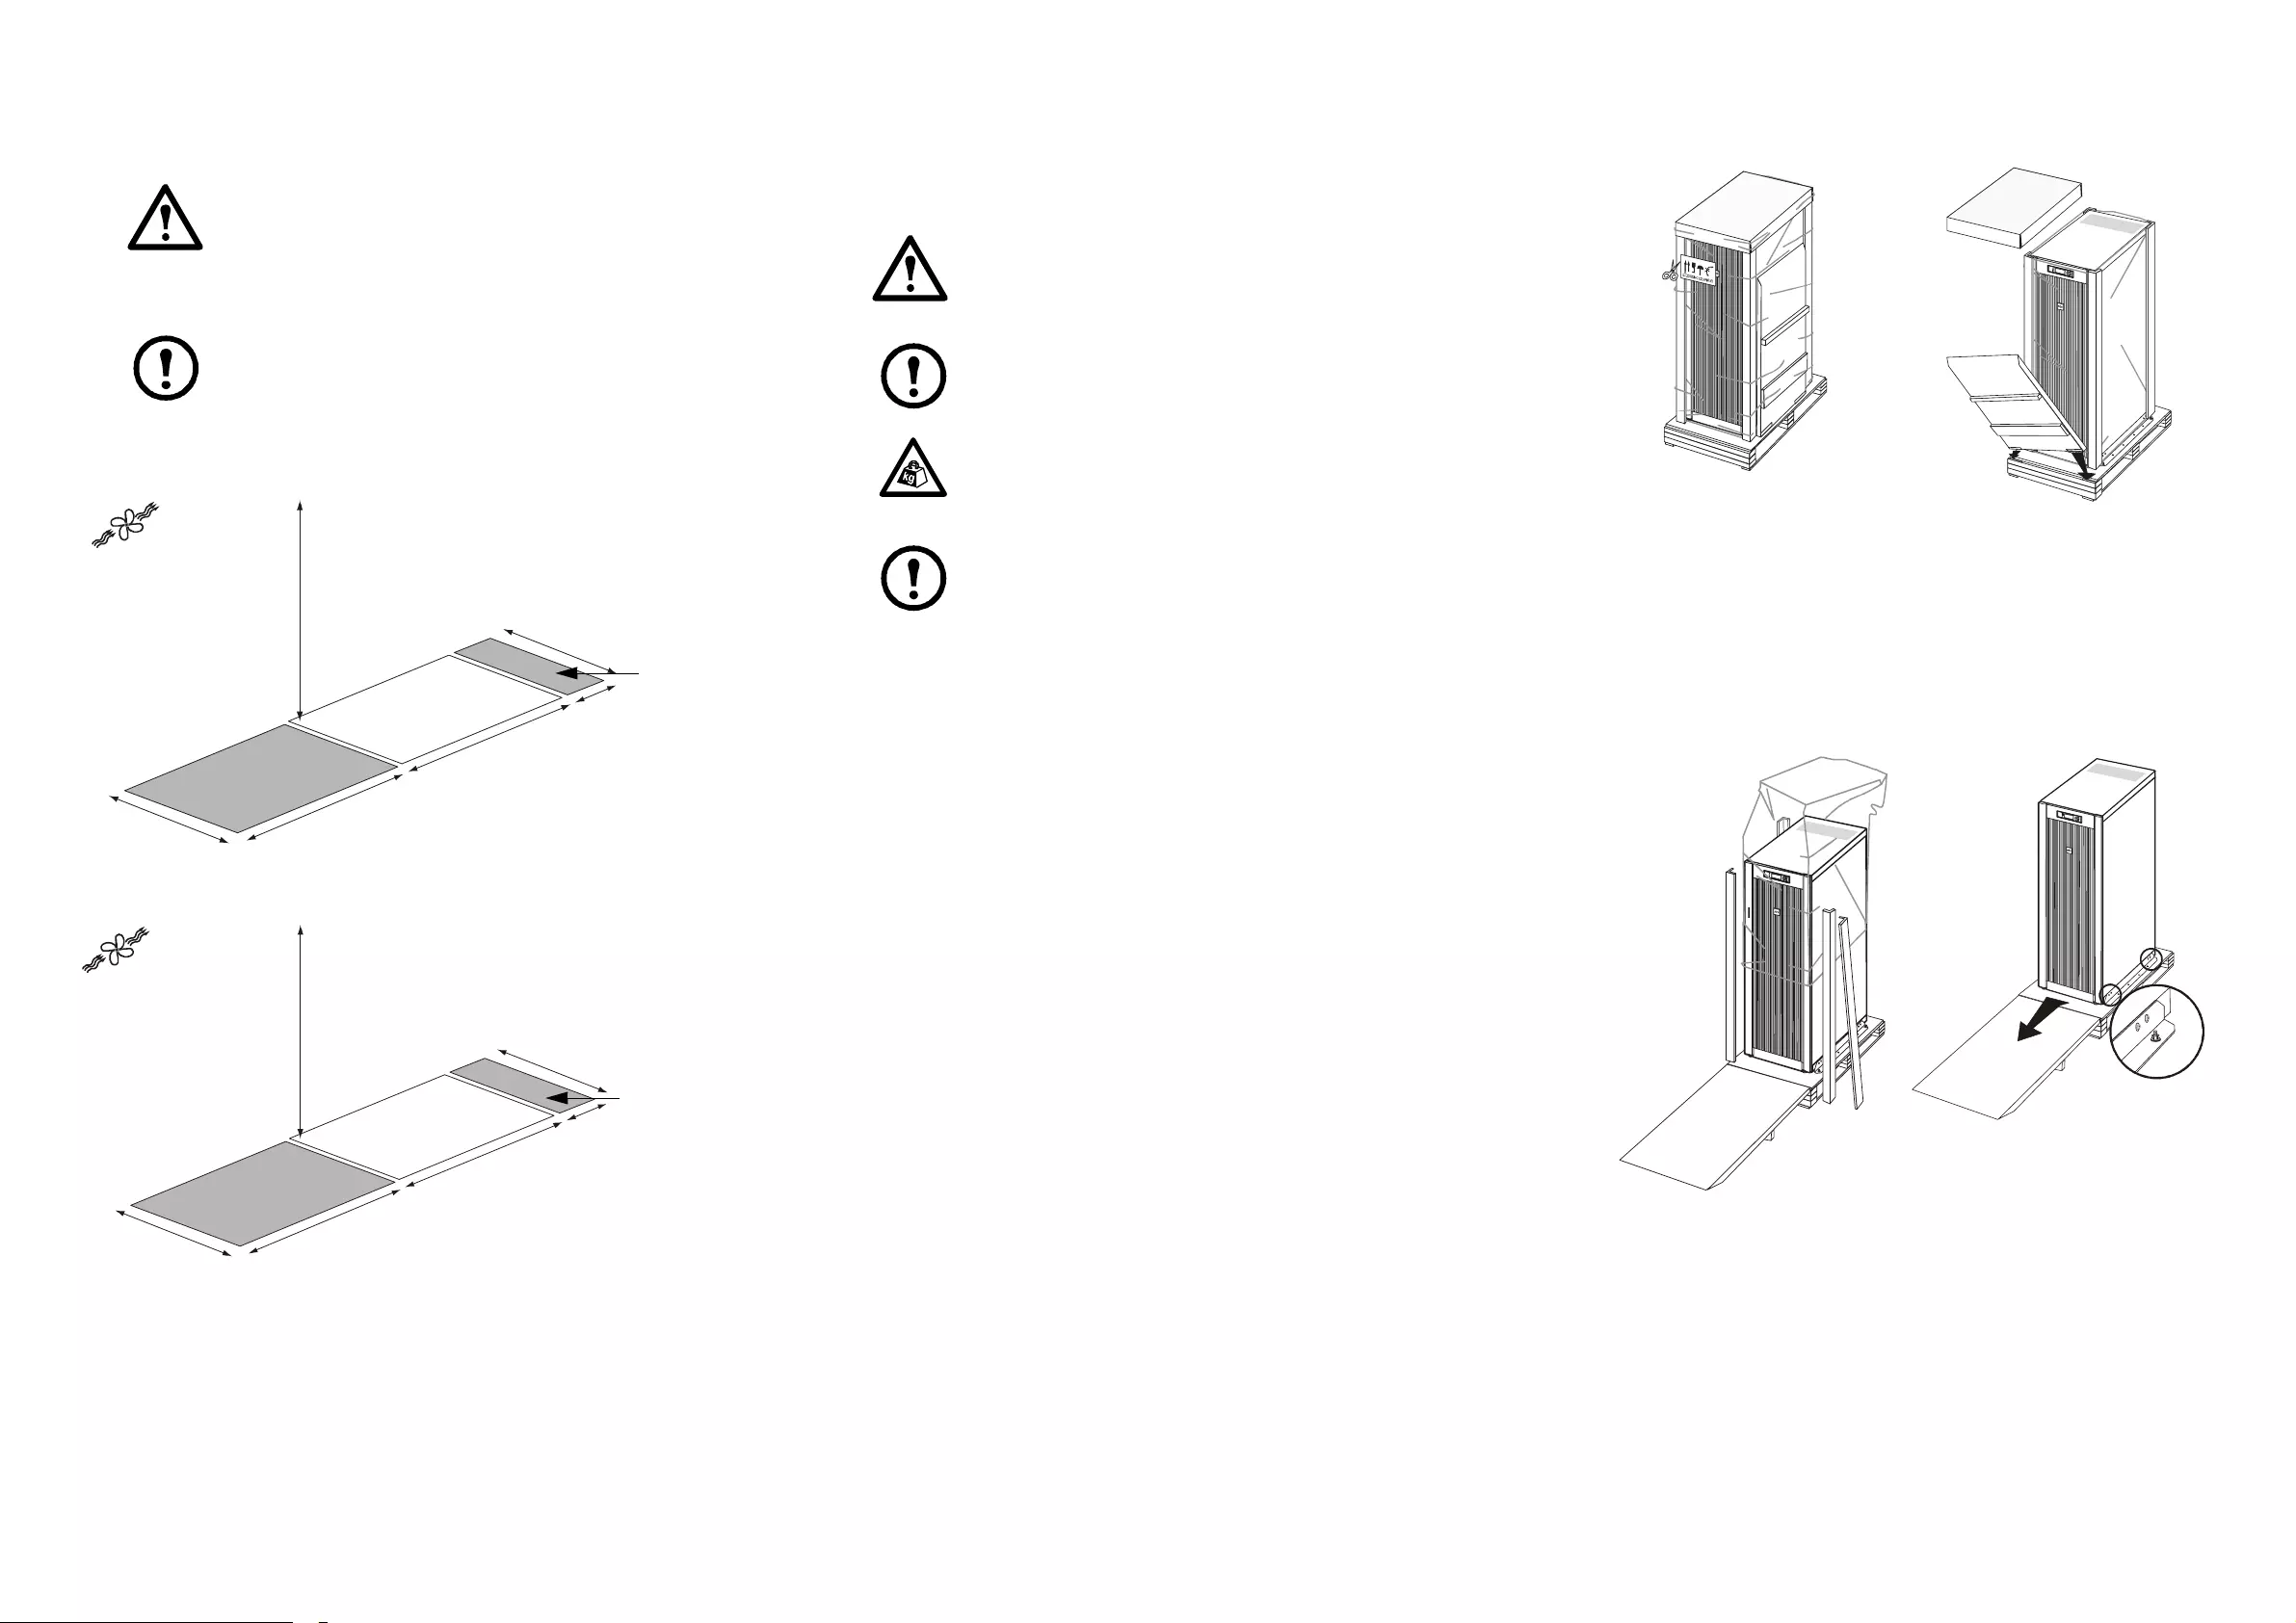
Unpacking
Unpack the enclosures
Caution: Do not unpack the units before the time of the
installation.
Note: If the system is not being installed immediately, do
not remove the packaging. Store the system in an indoor,
temperature-controlled area, free of conductive contaminats.
Heavy: There must be two people to roll the enclosure from
the pallet.
Note: Save four bolts for attaching the stabilizing brackets
to the 352 mm (13.85 in) enclosure. See “Stabilizing
Brackets” .
Land packaging.
Front-to-rear
airflow Floor-to-ceiling
ventilation:
523 mm
(20 in)
Minimum
front clearance:
Minimum
rear
clearance*:
828 mm
(32.99 in)
100 mm
(4 in)
356 mm
(14 in)
1000 mm
(39.3 in)
Enclosure
356 mm
(14 in)
Front-to-rear
airflow Floor-to-ceiling
ventilation:
523 mm
(20 in)
Minimum
front clearance:
Minimum
rear
clearance*:
828 mm
(32.99 in)
100 mm
(4 in)
559 mm
(22 in)
1000 mm
(39.3 in)
Enclosure
559 mm
(22 in)
Cut carefully along the
edges to remove the plastic
and to free the ramp.
Place the ramp by aligning
the velcro strips on the ramp
with the velcro strips on the
front edge of the pallet.
Remove the cardboard
cover.
Remove the corner
protection and the plastic bag.
Remove the bolts from the
brackets attaching the
enclosure to the pallet and
save the brackets for floor
anchoring, if required.
Roll the unit off the pallet.
Ramp
3
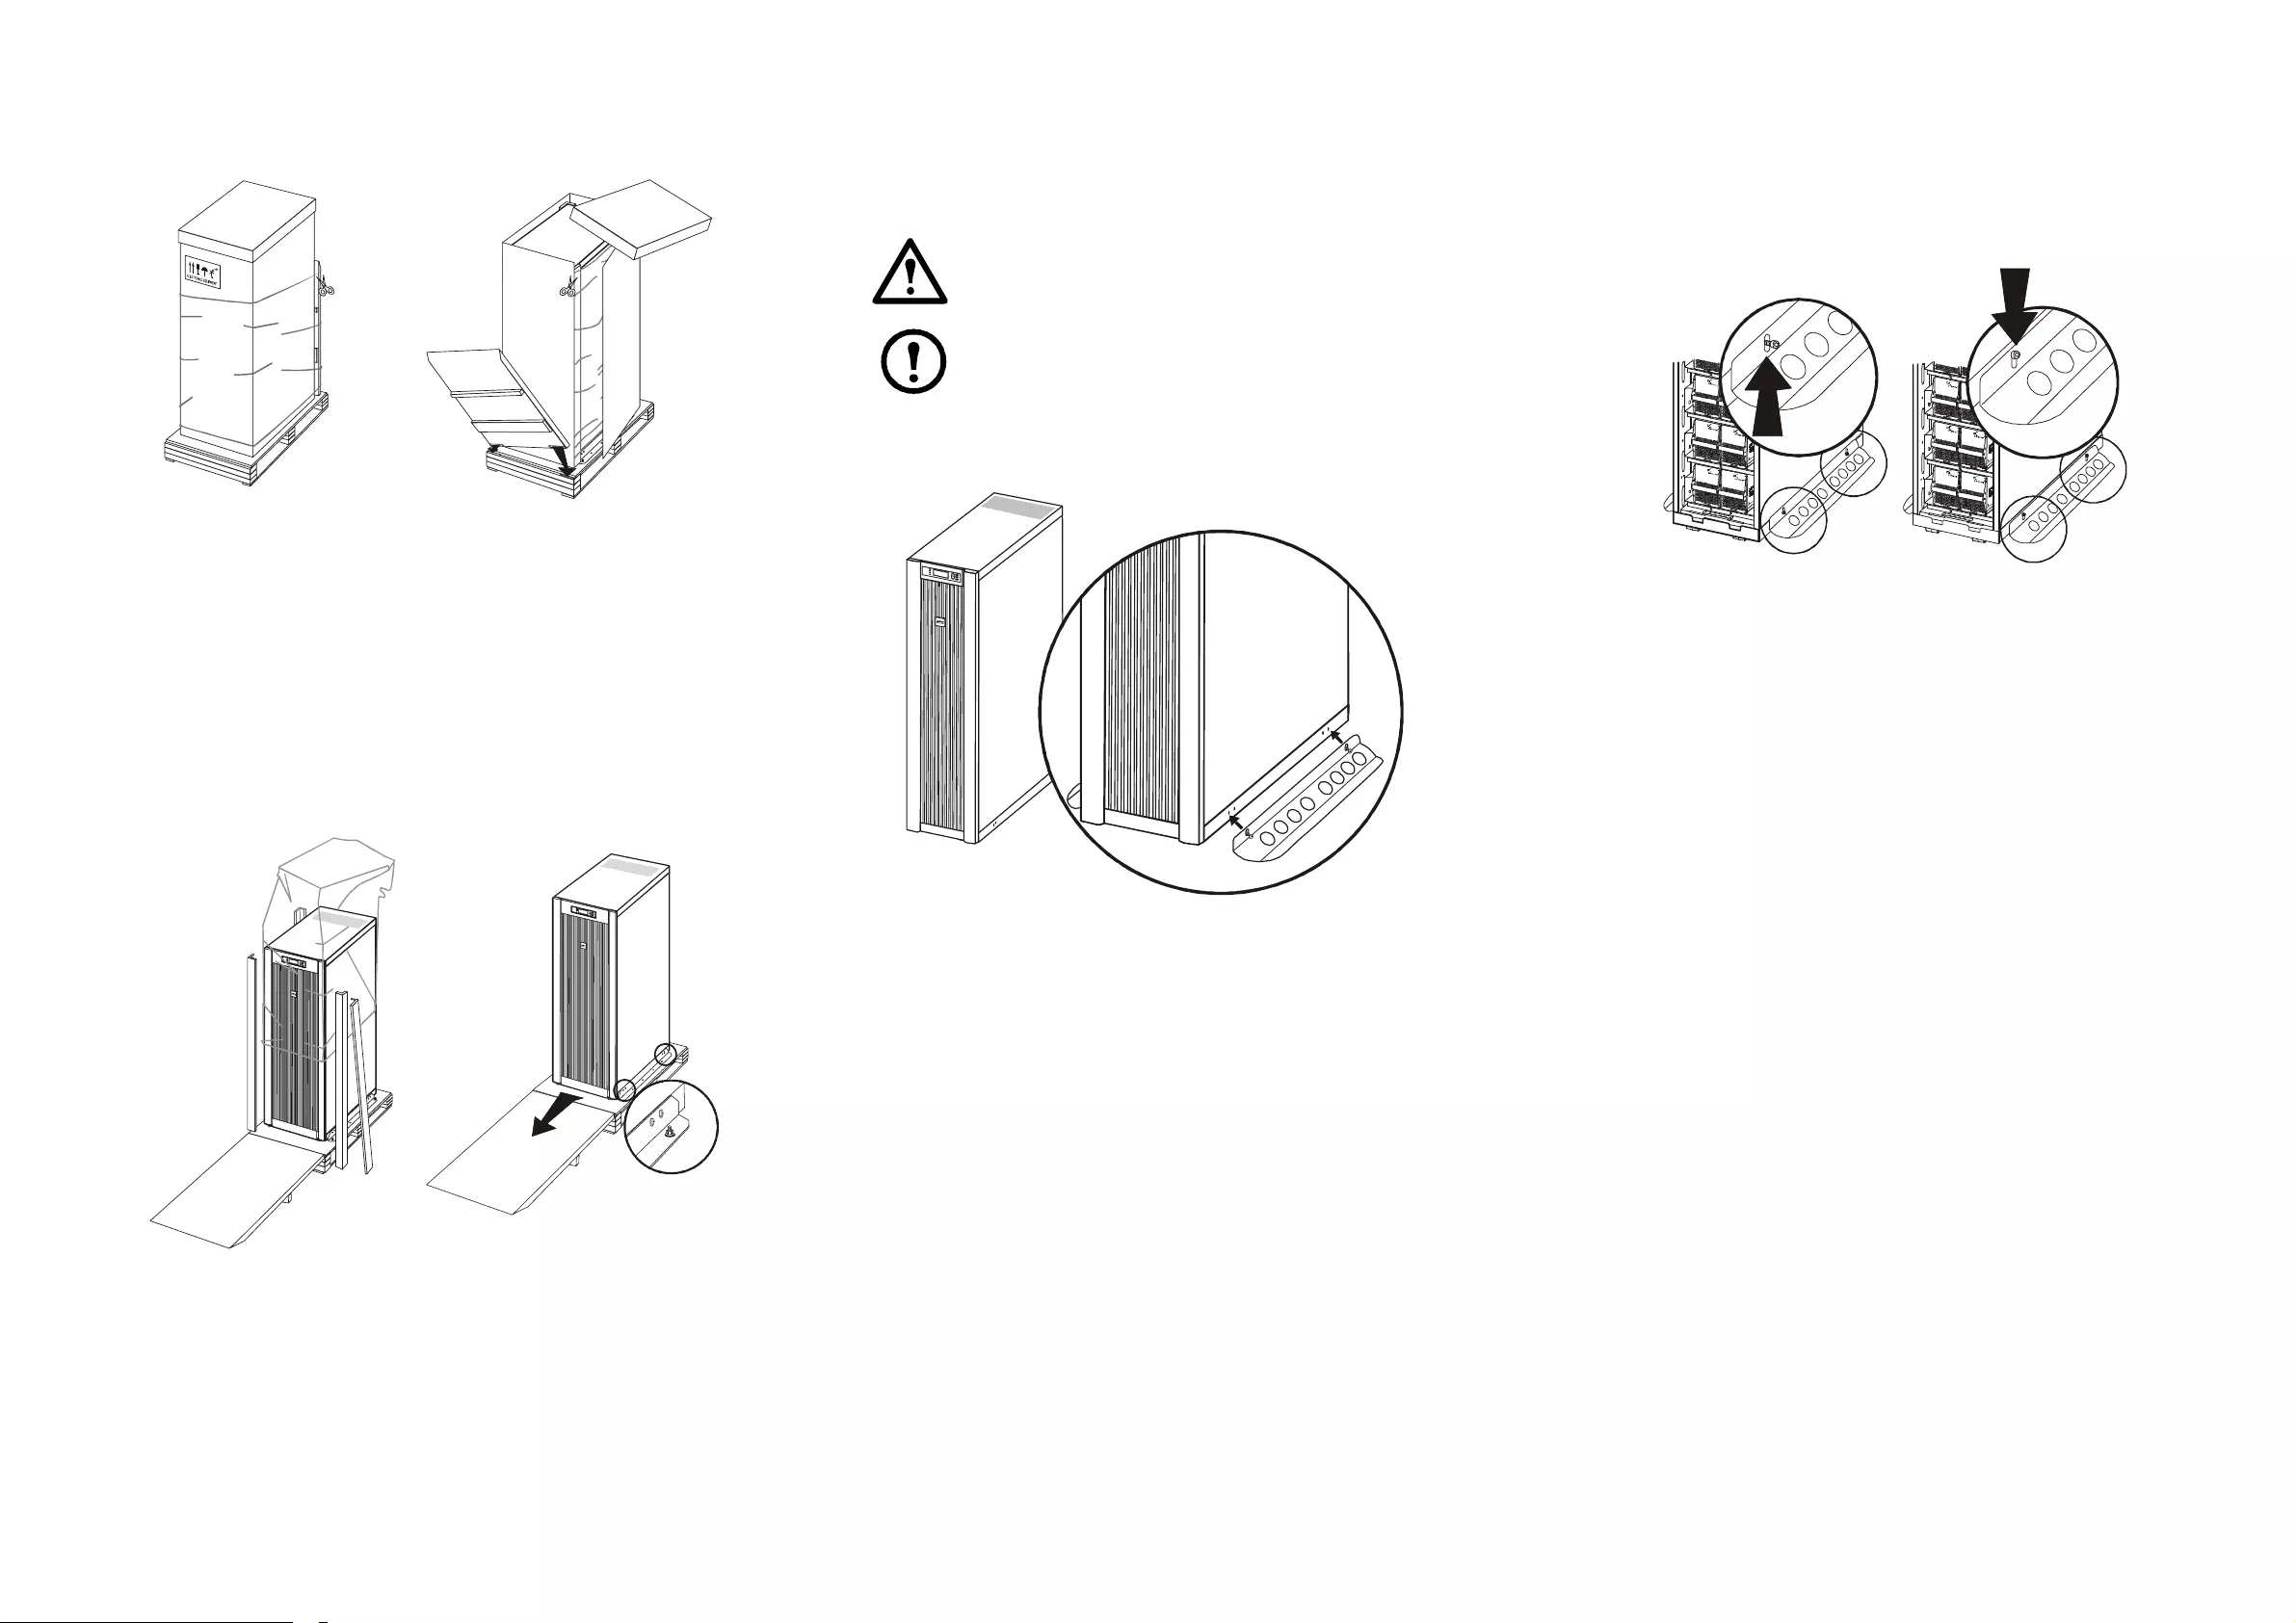
Sea packaging. Stabilizing Brackets
Attach stabilizing brackets
Caution: After unpacking always install the stabilizing
bracket (shipped with the UPS) to the 352 mm (13.85 in)
enclosure.
Note: This equipment is easily tipped. Use extreme caution
when unpacking and moving the equipment to its final
location.
Use the screws (which attached the transport brackets to the UPS) to
fasten the stabilizing bracket to the UPS.
Move the UPS with stabilizing brackets
Loosen the screws, push the brackets upwards and tighten the screws.
Push the brackets downwards when the UPS is at its final position and
tighten the screws.
Cut carefully along the
edges to remove the plastic
and to free the ramp.
Place the ramp by aligning
the velcro strips on the ramp
with the velcro strips on the
front edge of the pallet.
Remove the cardboard
cover.
Cut along the edges of the
cardboard cover and remove
it.
Remove the corner
protection and the plastic
bag.
Remove the bolts from the
brackets attaching the
enclosure to the pallet and
save the brackets for floor
anchoring, if required.
Roll the unit off the pallet.
Ramp
4
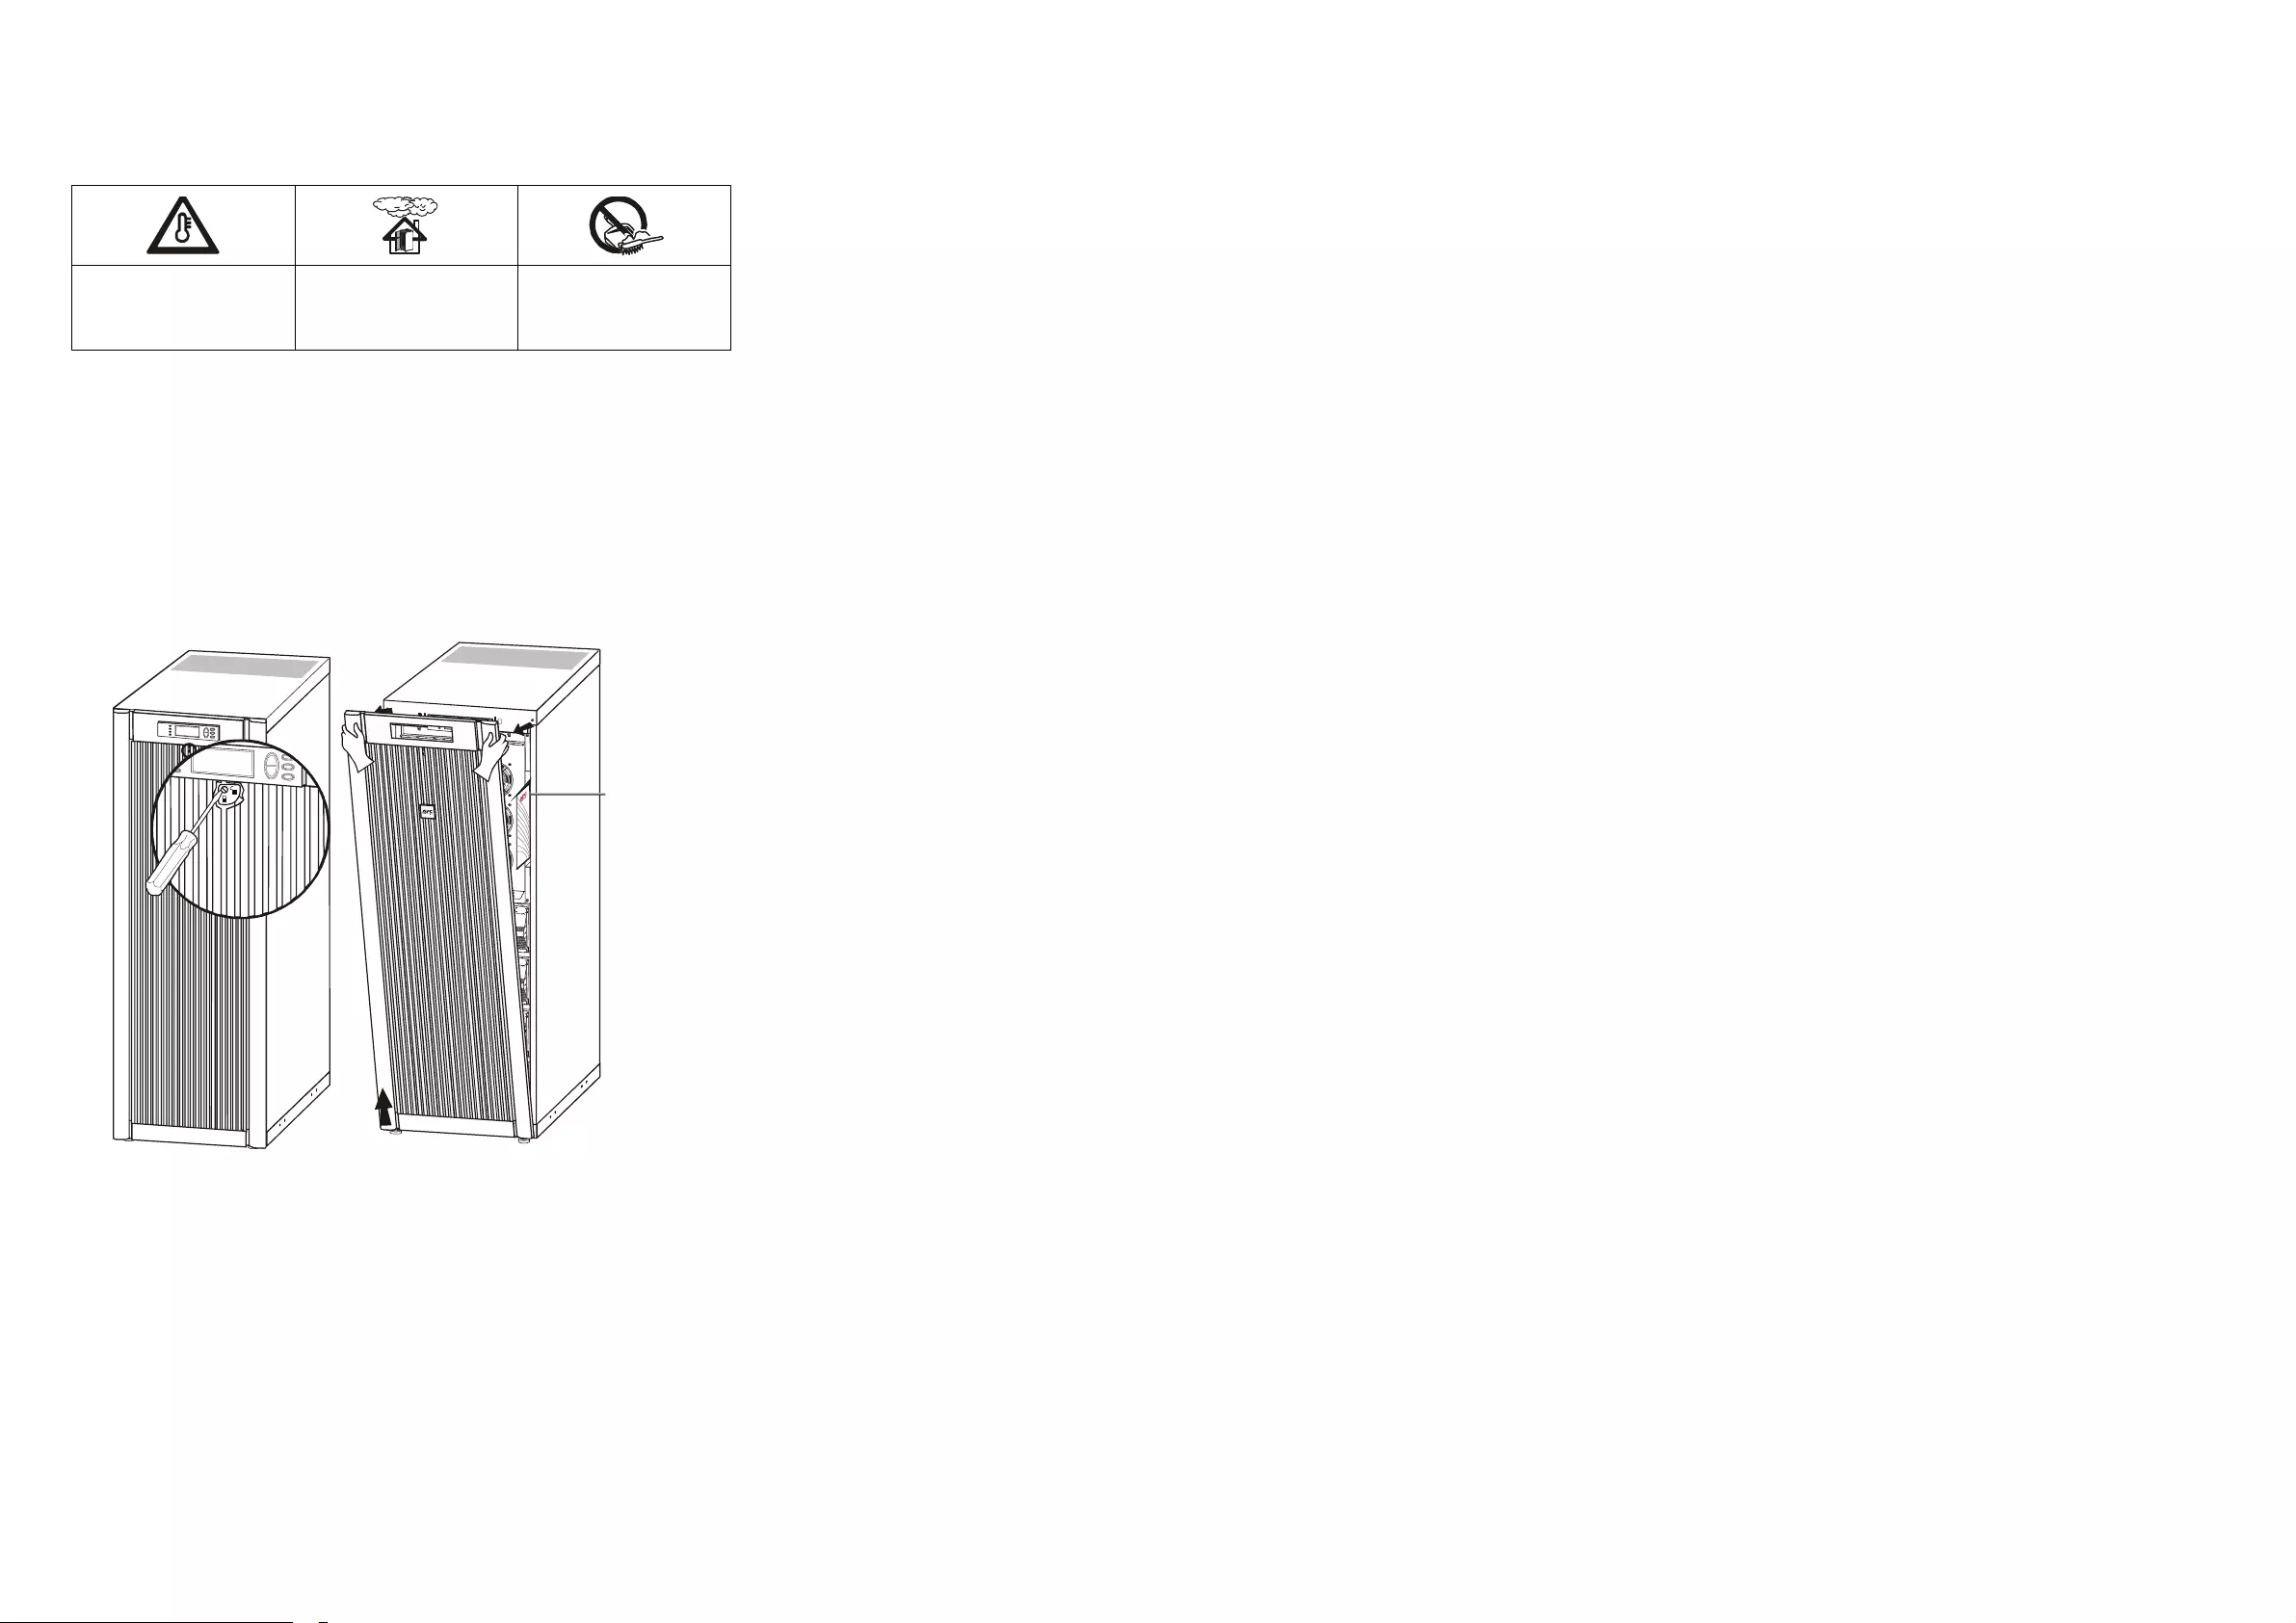
Storage Conditions
Documentation Storage
Remove the front panel by turning the screw to the right to the
unlocked position.
Pull the upper part of the front panel free of the UPS.
Lift the front panel free of the two slots at the bottom of the enclosure
Contact Information
For local country-specific centers: go to www.apc.com/support/contact.
Web Support: support@apc.com.
Operating temperature:
0°C to 40°C/32°F to
104°F
Relative Humidity:
0-95% Non-condensing
Storage place free from
vibration, dust, direct
sunlight, and moisture.
Documentation
storage